LEGO Blog
All the latest Brixbox news, straight from the team.

Star Wars Display Project Example That Stands Out
A completed LEGO Star Wars set deserves more than the nearest spare shelf. The right Star Wars display project example turns a brilliant build into a scene with presence: protected from dust, framed with purpose and ready to catch the eye every time you enter the room. Rather than trying to display every ship, helmet and minifigure at once, start with one centrepiece and give it the space it has earned.
For this project, imagine the UCS Razor Crest (75331) taking command of a dedicated shelf. It is a substantial model with a distinctive silhouette, a detailed crew and the sort of screen history that rewards a closer look. The same thinking works for a UCS Millennium Falcon, Venator-Class Republic Attack Cruiser or any favourite Star Wars build. The set changes, but the display principles stay the same.
Star Wars Display Project Example: The Razor Crest Scene
The goal is not to recreate every frame from The Mandalorian. It is to create a polished, believable slice of its world, with the Razor Crest clearly positioned as the hero. That means choosing a display case with enough internal height and depth for the ship, leaving deliberate breathing room around it and using the base and background to establish atmosphere.
Begin with the ship placed slightly off-centre rather than square to the front panel. A very small angle gives the Razor Crest a sense of movement, as though it has just settled onto a remote landing spot. Keep the nose visible from your main viewing position, but do not hide the engines or rear profile entirely. The best angle is usually one that reveals the widest range of shapes without turning the model into a flat side view.
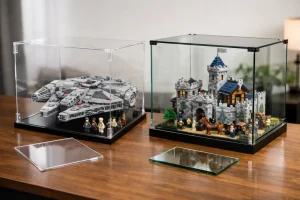
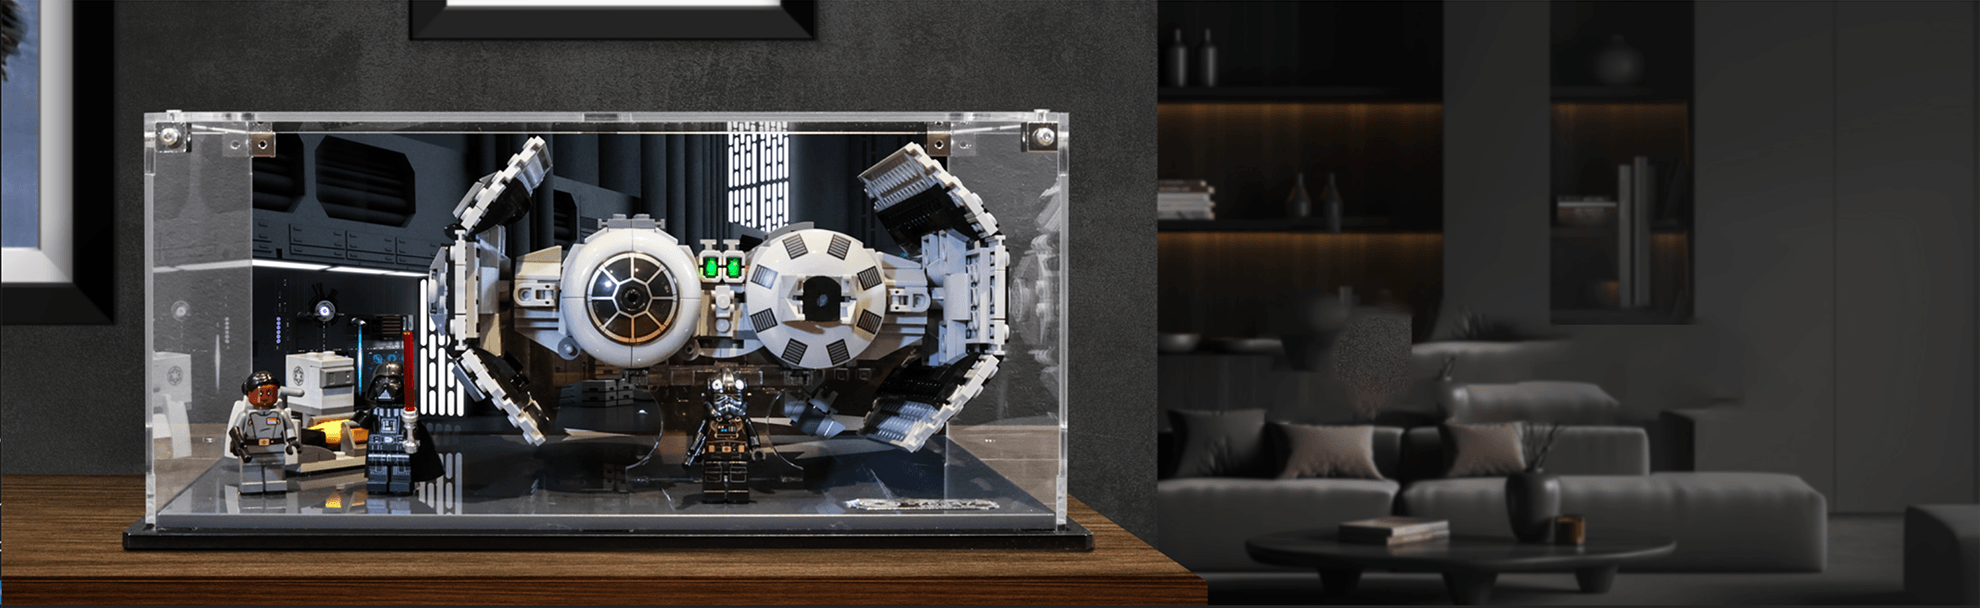
A set-specific acrylic case is the foundation here. It keeps dust away from the Razor Crest’s exposed details, reduces the temptation for casual handling and creates a clean boundary between the display and everything else on the shelf. For collectors who have spent hours aligning panels, loading the interior and positioning every character, that protection is not an afterthought. It is part of finishing the build properly.
Build the scene from the base up
The base does much more than support the model. It sets the visual temperature of the entire project. A printed desert-inspired base suits the Razor Crest particularly well, suggesting a weathered outpost, a dusty landing zone or an isolated world beyond the usual galactic traffic. Sandy tones, darker rock textures and restrained surface markings will complement the ship without competing with it.
Avoid a base that is too busy. The Razor Crest is already rich in mechanical detail, with uneven armour plating, exposed-looking components and a deliberately hard-working finish. If the ground beneath it is equally chaotic, the display can lose its focal point. The strongest contrast comes from a simple environment that lets the ship’s texture do the talking.
If you prefer a cleaner, collector-led look, a dark printed base can work just as well. Black, charcoal or deep grey gives the build a museum-style presentation and makes the sand-coloured sections of the ship stand out sharply. This is the better route for a modern media unit, a monochrome LEGO room or a shelf where several premium sets will sit nearby. It depends on whether you want a cinematic scene or a refined gallery display.
Give the background a reason to exist
A UV-printed background is where a protected model becomes a proper display project. It can add depth without filling the case with extra bricks, leaving the Razor Crest clear and visible from the front. Think of it as a backdrop for the story rather than a second model demanding attention.
For this example, choose a muted horizon with rocky forms, distant haze and a wide sky. The colours should echo the base, but they should not match it exactly. A little tonal variation prevents the whole case from becoming one large block of beige. Cooler shadows behind the ship also help its warmer panels read clearly.
There is a trade-off. A detailed printed background creates instant atmosphere, but it fixes the display to a particular mood. A plain dark background is more flexible if you regularly rotate sets or change minifigures with the season. Collectors who want one permanent Mandalorian showcase will usually gain more from themed artwork. Those who enjoy rearranging their shelves may prefer a versatile finish.
Add supporting details without crowding the build
The Razor Crest includes enough minifigure interest to make a small supporting arrangement worthwhile. Place characters where they create a natural reading order: the ship first, then the figures, then the environmental details. Keep them low and towards the front or one side, so they add scale rather than blocking the landing gear and lower hull.
The temptation is to fill every open patch of base space with accessories. Resist it. Empty space is what makes a large LEGO Star Wars model feel premium instead of cluttered. One or two carefully chosen details – a compact crate arrangement, a small rocky outcrop or a character stepping away from the ramp – can suggest an entire story. A full army of loose props usually suggests that the display has not yet been edited.
This approach also makes maintenance easier. If you need to lift the case for a thorough clean or reposition the model after moving home, fewer loose elements mean less risk of losing a tiny part beneath the shelf. A display should be dramatic, but it should remain practical to live with.
Plan the shelf around the case, not the other way round
Before committing to a location, measure the shelf’s width, height and depth, including the clearance above the display case. It sounds obvious, yet many collector displays end up pushed against the back of a bookcase or squeezed below an upper shelf, where the artwork and silhouette cannot be appreciated properly.
Place the case at a comfortable viewing height where possible. A large ship displayed around chest or eye level feels far more engaging than one hidden near the floor. If the shelf sits lower, angle and lighting become even more important, because the viewer will naturally be looking down onto the build.
Try to give the case a quiet zone around it. A UCS set surrounded by cables, game cases, controllers and unrelated ornaments loses much of its impact. Even a narrow gap to each side can make the presentation feel intentional. If your collection shares one shelving unit, group it by visual weight: larger ships on lower or central shelves, helmets and smaller vehicles above or beside them, and minifigure displays where their finer detail can be seen up close.
Light it like a collector, not a film set
Good room lighting is usually enough for an acrylic display case. Bright direct sunlight is not. Keep premium LEGO sets away from prolonged sun exposure, which can affect colours over time, and avoid placing them beside a radiator or another heat source. Protection from dust matters, but long-term preservation also relies on a sensible location.
If you add LED lighting to the shelf, aim for soft, neutral white light. It will reveal the ship’s texture and printed background without shifting the colours too heavily. Blue lighting can look dramatic for a moment, but it may make a desert scene feel cold and can obscure the natural character of the model. Save strong coloured light for a deliberately stylised display, such as a Sith-themed helmet shelf or an Imperial hangar arrangement.
Check for reflections after dark. Acrylic looks superb when clean and well lit, but a lamp directly opposite the front panel can create glare. Moving a light slightly above, below or to one side often solves the problem without needing more equipment.
Make the display feel finished
The final pass is about alignment. Straighten the ship, check that every minifigure is facing with purpose, wipe fingerprints from the acrylic and make sure the printed base and background are sitting cleanly in the viewer’s sightline. These small adjustments are what separate a set stored in a case from a set truly showcased in one.
Brixbox display cases, printed bases and themed backdrops are designed for this exact moment: when the build is complete but the presentation is not. A purpose-built fit keeps the experience focused on the set rather than the compromises of a generic box.
Your best display project does not need dozens of sets or a dedicated LEGO room. Start with the Star Wars model you are proudest of, choose a setting that supports its story, and give it enough protected space to command the shelf. The result is not simply tidier collecting. It is a daily reminder of why you built it in the first place.
RECENT POST