LEGO Blog
All the latest Brixbox news, straight from the team.
LEGO Case Dimensions for the Perfect Fit
A display case that is only a few millimetres too small can turn a prized build into an awkward compromise. Getting LEGO case dimensions right means more than checking a set’s box size or the measurements printed on the instruction booklet. You need to allow for the model as it is actually built, the space it needs to breathe, and the visual impact you want once it takes pride of place on a shelf.
For a compact helmet, that may be simple. For a Star Wars starship with angled wings, a Technic supercar with a rear spoiler, or a Hogwarts scene packed with towers and minifigures, measuring properly is the difference between a case that frames the model beautifully and one that feels like a tight plastic box.
Why LEGO case dimensions are not one-size-fits-all
LEGO sets are often described by their official height, width and depth, but those figures are a starting point rather than a finished display specification. Official measurements may refer to a particular pose, omit a removable stand, or assume that moving parts are tucked away. A collector’s display can look very different once minifigures, a plaque, accessories and a themed backdrop are included.
A set-specific case is designed around that reality. Its footprint supports the base without crowding it, while its height allows the model’s highest point to sit safely below the acrylic. It should also leave enough room around the build for the eye to read its silhouette. That clear border is not wasted space. It makes the set look intentional, protects delicate elements from accidental contact and stops a large build from appearing visually cramped.
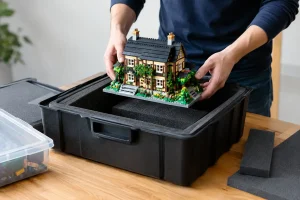
Generic storage tubs solve a different problem. They are useful for loose bricks, instructions and builds waiting to be rebuilt, but they rarely offer the clarity, protection or presentation a finished collection deserves. A display case should feel like part of the exhibit.
Start with the completed model, not the box
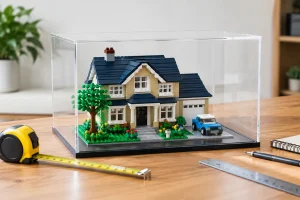
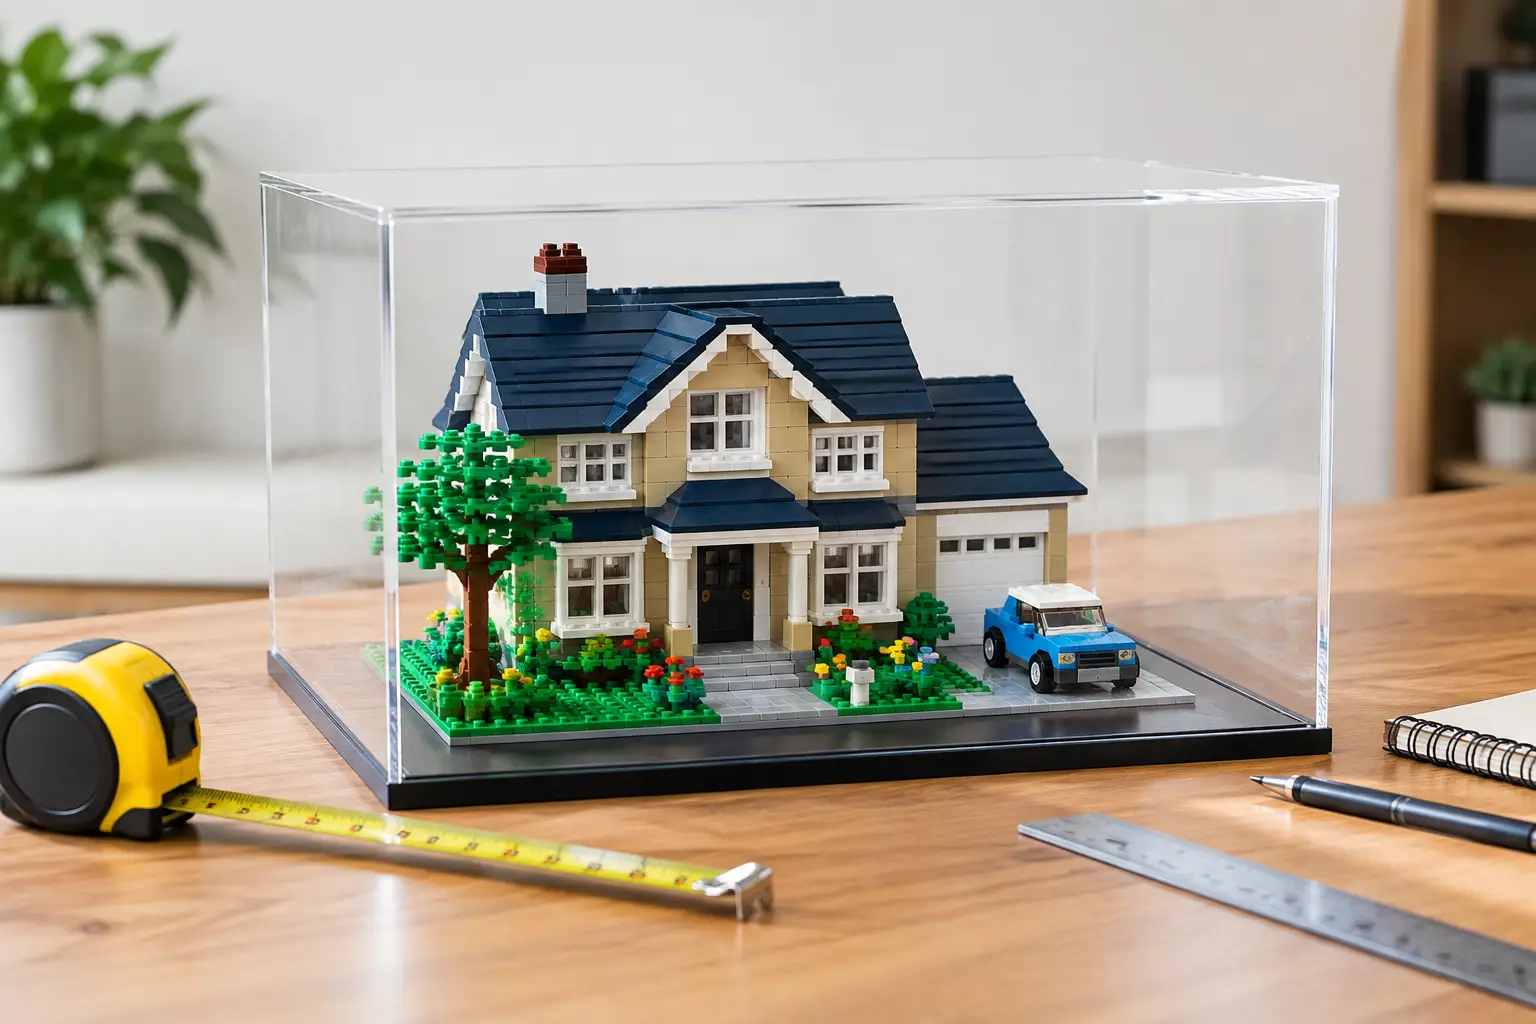
Before choosing a case, place the completed model on a flat surface in the exact configuration you intend to display. Fit the stand, extend the wings if that is how you want them shown, position opening panels and arrange the minifigures. Then measure the widest, deepest and tallest points.
Use a metal tape measure or ruler and record measurements in millimetres for the best accuracy. Measure the model itself, not the available shelf, at this stage. For irregular builds, take more than one width and depth reading. A wide section near the top, a wingtip that reaches beyond the stand, or a rear antenna can be the detail that determines the case size.
The four measurements worth recording are:
- overall width, from the furthest point on one side to the furthest point on the other
- overall depth, including angled elements, open doors and display stands
- overall height, including antennas, raised weapons, flags or elevated minifigures
- base footprint, especially where a model is mounted on a supplied or custom stand
Do not press flexible elements inward to make a model fit on paper. If a lightsaber, whip, foliage piece or antenna naturally sits outside the main body, it belongs in your measurement. The right case protects the display as you have chosen to build it.
Allow for clearance, not just containment
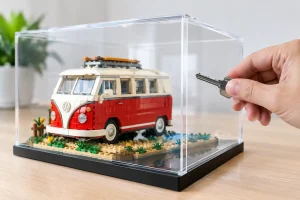
A case can technically fit a model and still be the wrong case. Clearance gives you room to lower the acrylic cover safely, dust the base before assembly and enjoy the build without every protruding detail sitting against the panel.
For straightforward, solid models, a modest border around the sides and above the highest element may be enough. Larger or more intricate sets benefit from more generous clearance. Think about the scale of the build: a small BrickHeadz model can look sharp in a close-fitting case, whereas a UCS ship needs visual space around its profile to command attention.
Height deserves particular attention. A low roofline can obscure a tall model’s presence, while an overly tall case may make a compact set feel lost. The most satisfying proportion usually gives the model a clear frame without making it look miniature inside a huge empty volume.
How to read LEGO case dimensions correctly
When comparing cases, check whether the listed figures refer to the external size, internal usable space or base size. These are not interchangeable. Acrylic thickness, fittings and the way a lid sits over a base all affect the space available to the model.
For collectors, internal dimensions matter most because they tell you whether the finished set will sit comfortably inside. External dimensions matter when planning furniture, shelves or a display cabinet. A case with an internal width that works perfectly may still have an external width that overhangs your chosen shelf.
Also check the orientation used in the dimensions. Most listings present measurements as width x depth x height, but never assume. For long models such as vehicles and ships, rotating the case or placing it diagonally on a shelf can quickly cause planning mistakes. Confirm the dimensions against the actual direction in which the model will face.
The base is part of the display
The base does more than hold the cover. It determines how the entire scene is composed. A printed base can give a model a sense of setting, from a hangar floor beneath a starfighter to a racing-inspired platform beneath a Technic car. A UV-printed backdrop adds depth without taking up display space, helping the build feel less like an object on a shelf and more like a centrepiece.
That presentation comes with a practical consideration: leave enough base around the model for the artwork to remain visible. If the build fills every edge, a themed printed base loses some of its effect. The best LEGO case dimensions balance a secure footprint with a deliberate visual margin.
Measure the shelf before you order
Once you know the model and case requirements, measure its destination. Start with the shelf’s usable width and depth, then measure the vertical gap to the shelf above. Account for brackets, cabinet frames, lighting strips and doors that swing inward. A case that fits an open bookcase may not fit inside a glazed cabinet with a central door catch.
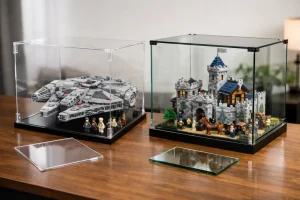
If you are displaying several sets together, do not simply add their external widths and hope for the best. Leave a little separation between cases so they do not visually merge into one long row of acrylic. This also makes them easier to lift, reposition and clean. Grouping by theme can look spectacular, but a crowded display diminishes even the most impressive builds.
For wall-mounted shelving, consider weight as well as dimensions. Acrylic cases are relatively light, but large sets, printed bases and display stands add up. Make sure the shelf and fixings are suited to the full load, particularly with premium models displayed above eye level.
When a custom-fit case is worth it
A standard case can suit simple builds with conventional proportions. It becomes less convincing when a set has an unusual footprint, a dedicated angled stand, tall scenery or details that extend far beyond its base. In those situations, a case designed for the specific set number takes the uncertainty out of measuring and gives the finished build the presence it deserves.
This is especially valuable for sets that attract dust in difficult places. Open cockpits, exposed engines, intricate castle façades and densely detailed dioramas can take far longer to clean than to case. A well-fitted acrylic cover limits handling and keeps those carefully placed details looking fresh between displays.
At Brixbox, set-specific cases are built with collectors’ finished models in mind, including the stand, silhouette and presentation space that turn a build into a proper showcase. It is a more considered choice than buying to the nearest rough size, particularly for the sets you have spent hours building and years wanting.
A final check before your case arrives
Take one last look at any features you may have changed since your first measurement. Have you added a custom lighting kit, a plaque, a larger display stand or an extra row of minifigures? Have you posed the ship in flight rather than landed it flat? Small changes can alter the required height or footprint more than expected.
Choose dimensions that protect the build you want to show, rather than the smallest box it can be persuaded to enter. Give your favourite set a little room, frame it with purpose and it will keep earning its place in your collection every time you walk past.
RECENT POST