LEGO Blog
All the latest Brixbox news, straight from the team.
How to Transport LEGO Builds Without Breakages
A finished LEGO model can survive a dramatic crash landing in its own story, but not always a sharp turn on the way to a new flat, exhibition or family gathering. Knowing how to transport LEGO builds is less about wrapping everything in bubble wrap and more about supporting the model exactly where its weight, shape and fragile details demand it.
Whether you are moving a UCS Star Wars starship, a Technic supercar, Hogwarts Castle or a shelf full of helmets, the goal is the same: arrive with the build looking as though it has never left its display.
How to transport LEGO builds: assess before you pack
Start by looking at the build as an object, not just as a model. Pick it up carefully from the base and notice where it flexes. A wide model with a strong plate-built footprint may travel intact, while a tall tower, a ship on display stands or anything with thin antennae, foliage, wings or minifigures needs a different plan.
Ask three questions. Is the base rigid enough to carry the model? Which parts project beyond the main shape? And can the build be lifted without squeezing decorative panels or loose subassemblies? The answers tell you whether to transport it whole, remove vulnerable sections, or break it down into larger modules.
Taking a few photographs before you begin is worth the minute it takes. Capture the front, back, sides and any complex interior detail. If a flag, turret or Technic panel does come away during the journey, you will have a clear reference for rebuilding it properly rather than relying on memory.
Choose the right transport method for the model
There is no single best way to move every LEGO set. The safest method depends on the scale of the build, the distance travelled and whether you have room to keep it flat and secure in the car.
Small and sturdy builds
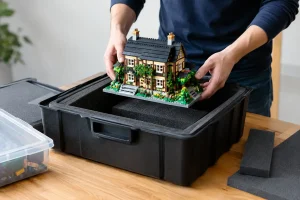
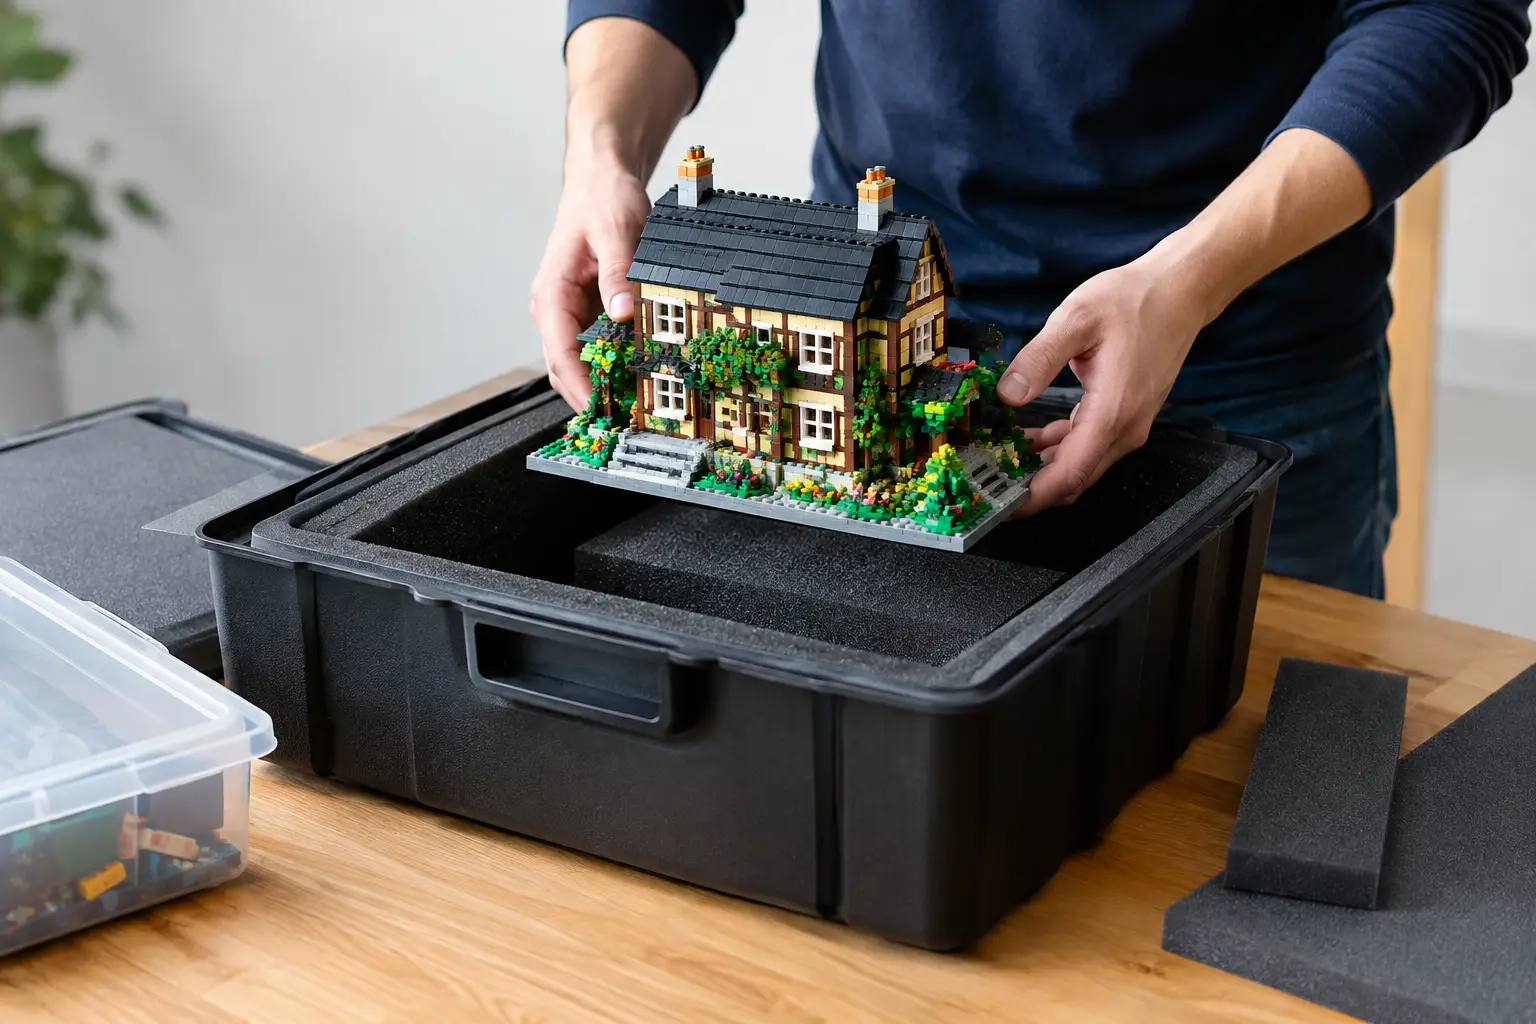
Compact models with low profiles can often travel assembled in a shallow plastic storage box. Choose one that is larger than the model on every side, then line the bottom with a non-slip material, a clean towel or a layer of soft packing foam. The aim is to stop sliding, not to press material against the model.
Place the box on a level surface in the footwell or boot, surrounded by softer household items that cannot shift into it. Avoid the passenger seat. A seatbelt may stop the box moving forwards, but it will not stop the model bouncing or tipping during a corner.
Large display models and vehicles
For larger sets, use a rigid board that extends beyond the model’s footprint. A smooth piece of MDF, foam board with sufficient strength, or the model’s own substantial display base can create a safer carrying platform. Carry the board from underneath with both hands, ideally with a second person supporting the opposite side.
Once inside the vehicle, keep the board completely flat. Build up padding around its outer edges with folded towels or cushions, leaving a small gap around the model itself. Pressure against a wing, wheel arch or brick-built exhaust is exactly what you are trying to avoid.
Tall, delicate or heavily detailed builds
Tall builds are usually safer when separated into sensible sections. Remove obvious weak points first: antennae, flags, trees, transparent elements, side-mounted weapons, satellite dishes and loose display accessories. Put each group into a labelled bag or small container, then place it inside the larger transport box.
Do not dismantle a model one brick at a time unless you need to. Separate it at natural construction seams, such as floors of a modular building, removable roof sections, Technic bodywork modules or a vehicle’s display stand. This keeps rebuilding enjoyable and manageable when you reach your destination.
Models displayed in acrylic cases
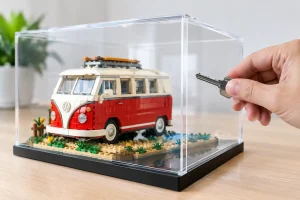
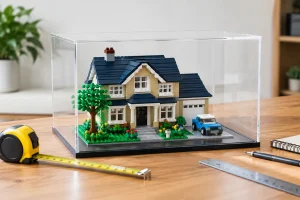
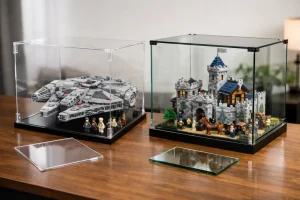
A premium acrylic display case is designed to keep dust and curious hands away during display, not to act as a removal crate. If your model is housed in a case, remove the acrylic cover before moving it unless the case has been specifically engineered and packed for transport. Lifting a case with a loose model inside can transfer every vibration through the base and into the build.
For a move, transport the model and its acrylic components separately. Wrap acrylic panels in clean, soft material so they do not scratch, and keep them upright where possible. Once the model is safely installed again, a set-specific case from Brixbox can return it to the kind of polished, protected presentation a collector’s build deserves.
Prepare the box without crushing the build
The right box should be rigid, clean and only moderately larger than the model or module. A huge box creates too much room for movement; a tight box invites contact damage. Double-walled cardboard is useful for lighter builds, while lidded plastic crates offer more protection from compression and unexpected rain during a house move.
Line the base first, then secure the model by supporting its surrounding space. Do not cover a detailed build with loose packing peanuts, shredded paper or anything that can wedge between studs, gears and small decorative pieces. Those materials are frustrating to remove and can snap delicate elements when pulled free.
For particularly fragile models, create a simple protective frame inside the box. Foam blocks or tightly rolled towels placed around the outside of the base can stop lateral movement. They should touch the carrying board or base, not the model’s towers, wings or bodywork.
A reliable packing setup usually includes:
- a rigid, correctly sized box or crate with a secure lid
- a flat carrying board for wide or heavy models
- clean towels, foam or non-slip matting for edge support
- labelled bags for removed details and spare pieces
- a photograph of the completed model for reassembly reference
If you need to stack boxes in a removal van, label the LEGO box clearly on every side. Write “This Way Up” and “Do Not Stack” where it can be seen. Then make sure it is loaded last and unloaded first. A careful label helps, but placing the box where it cannot be buried under furniture is what really protects it.
Secure the build in the car
Your driving matters almost as much as your packing. Brake gradually, take roundabouts slowly and avoid leaving the model in direct sunlight for extended periods. Heat will not usually melt LEGO elements in an ordinary UK car journey, but a hot vehicle can soften adhesive labels, distort some third-party display materials and make an already stressful trip feel riskier than it needs to be.
The boot floor is often the best location, provided it is level. For a hatchback or estate car, check that the parcel shelf, tailgate and any luggage cannot contact the model when closing. In a larger vehicle, position the crate against a flat side and brace it with heavier boxes that are themselves secured and cannot move.
For very large creations, it may be wiser to make two journeys than to force the model into an unsuitable space. The extra time is cheaper than replacing rare pieces or rebuilding an entire fragile section from scratch.
When dismantling is the smarter choice
Some builds simply are not made to travel in one piece. Large roller coasters, sprawling city layouts, tall castle displays and custom MOCs with extensive landscaping can be more vulnerable when assembled than when divided into planned modules.
Dismantling is also the sensible option if the build must go by courier, travel a long distance, or be stored before it is displayed again. Couriers handle parcels efficiently, but no amount of “fragile” tape can guarantee that a fully assembled model will remain upright through a sorting network.
Work in reverse build order where you can. Remove accessories and top layers first, then divide the model into stable chunks. Keep each module in its own bag or box, and label it with a simple note such as “Diagon Alley – roof section 2” or “X-wing – left engine and wing”. For complex custom creations, number the bags and keep a basic written sequence alongside your photographs.
This approach may feel less dramatic than carrying an entire finished model through the door, but it protects the time, money and imagination invested in the build. Reassembly becomes part of the experience, not a rescue mission.
Unpack with a display plan in mind
Do not rush to reconnect every small detail the moment you arrive. First, position the display shelf, cabinet or case on a stable, level surface away from busy walkways, direct heat and constant sunlight. Then place the main build, check its base is sitting flat, and add the removed details last.
Use the photographs you took earlier to check symmetry, minifigure placement and small accessories. This is also a good opportunity to remove dust from hard-to-reach areas before the model returns to display. A soft make-up brush or hand-operated air blower is gentler than wiping across delicate sections.
The best transport job is not necessarily the one with zero loose pieces. It is the one that protects the character of the build, keeps any repairs small and leaves your collection ready for its next proper showcase.
RECENT POST