LEGO Blog
All the latest Brixbox news, straight from the team.
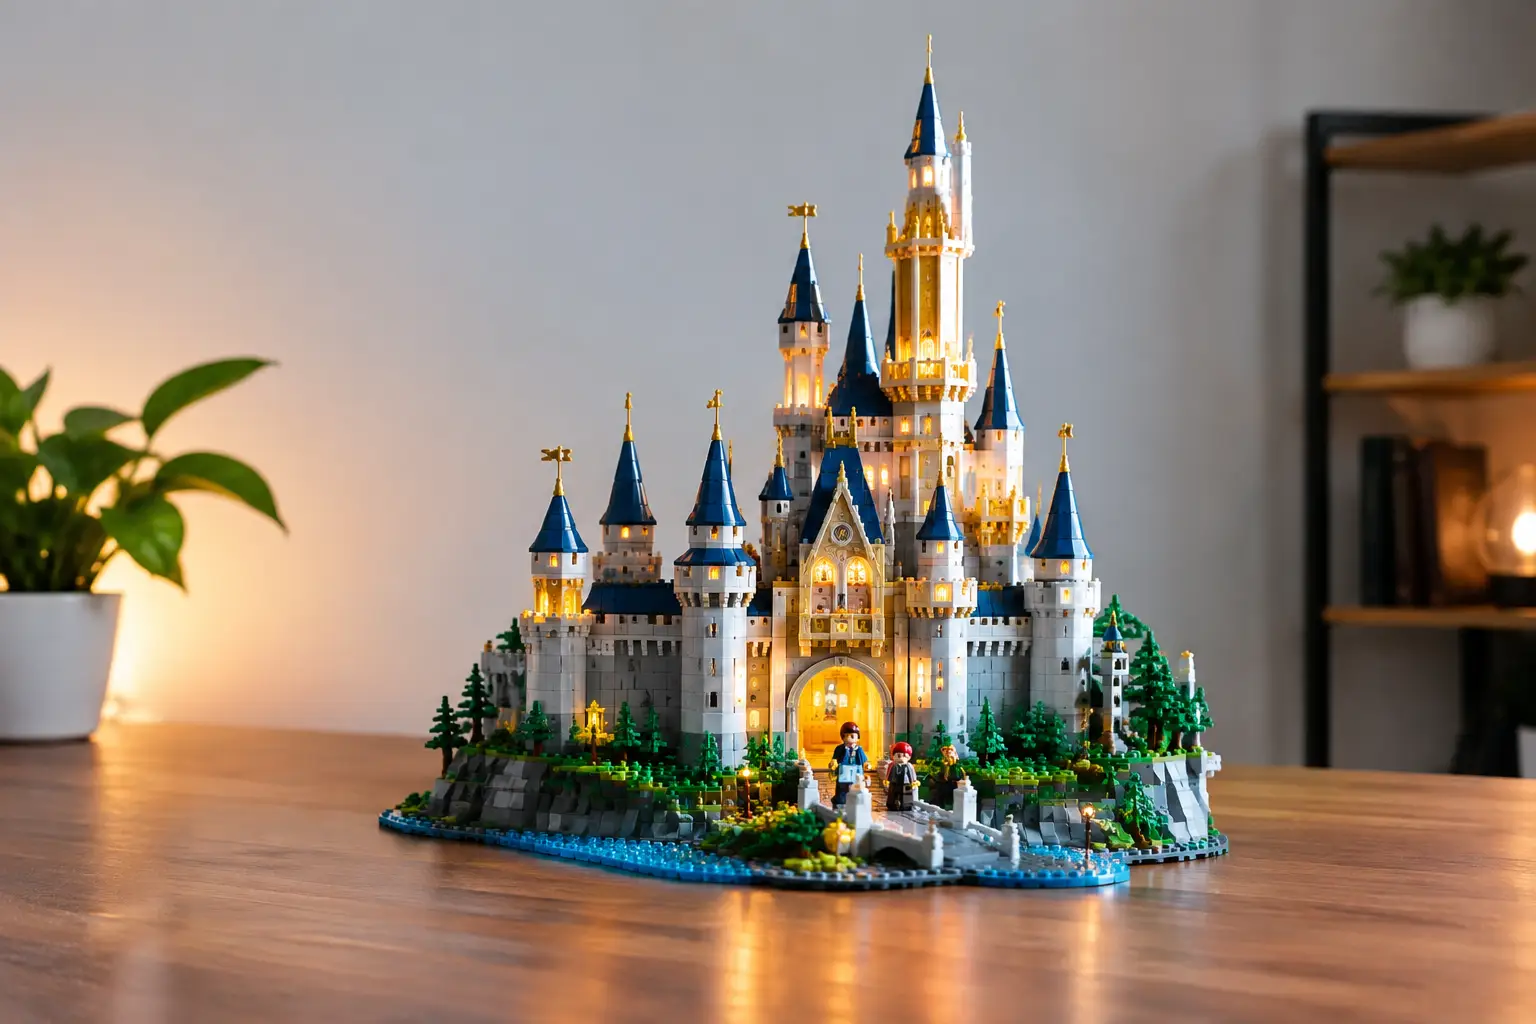
7 LEGO Display Lighting Ideas That Make Builds Pop
A finished UCS starfighter, castle or Technic supercar can look brilliant in daylight, then vanish into the room once evening arrives. LEGO display lighting changes that. Used well, it draws the eye to the details you spent hours building: the cockpit, engine bay, stained-glass window, minifigure scene or carefully tiled base. Used badly, it creates glare on acrylic, visible cables and a harsh glow that flattens the whole model.
The goal is not to turn every shelf into a sci-fi corridor. It is to give each build enough light, from the right direction, so it feels intentional from across the room and rewarding up close.
Start with the story your set tells
Before choosing LEDs, decide what should command attention. A display of the Millennium Falcon needs a different approach from a Hogwarts castle or a row of helmet builds. Lighting is part of the presentation, just like a printed base or themed background. It should support the world of the set rather than compete with it.
For a vehicle, the most effective lighting often follows its shape. A low, forward-facing strip can reveal the bodywork and wheels of a Technic car, while a subtle rear wash brings out a spoiler, exhaust and suspension. For a large spacecraft, light from above and slightly in front will define the hull without leaving the cockpit in shadow.
Scene-based sets are more atmospheric. A warm light behind a medieval or Harry Potter display can create depth against a printed backdrop. Cooler white light suits a Star Wars hangar, a Marvel laboratory or a futuristic city build. The key is restraint. One clear visual idea usually looks more premium than several colours fighting for attention.
Choose LEDs that suit a collector display
LEDs are the natural choice for LEGO display lighting because they run cool, use little power and are available in compact formats. That matters when your collection is housed in acrylic display cases, where heat, bulky fittings and cable clutter quickly spoil the clean finish.
Look first at colour temperature. Warm white, generally around 2700K to 3000K, has a softer golden tone. It works especially well with timber shelves, castles, vintage vehicles and displays intended to feel cosy. Neutral white, around 4000K, is the most versatile option for collectors who want clear, accurate colours across a mixed collection. Cool white can make white, grey and metallic elements look crisp, but too much of it can feel clinical in a living space.
Brightness matters just as much. A powerful LED strip may sound appealing, but it can overpower a minifigure display or throw reflections across the front panel of a case. Choose dimmable lighting where possible. Being able to reduce the output is far more useful than being stuck with a display that looks good only in a brightly lit showroom.
If you want colour-changing LEDs, use them as an occasional effect rather than the default setting. Blue can bring a starship display to life; red can add drama to a Sith-themed build. Yet for everyday display, a consistent white light tends to show the true colours of the bricks better and keeps the collection looking considered.
Put the light where reflections cannot win
Acrylic gives a display a sharp, gallery-like finish, but any clear panel will reflect a direct point of light. The solution is not avoiding lighting altogether. It is positioning the source so you see the build, not the LED itself.
Mounting a strip along the top front interior edge is usually a strong starting point. Angle the light downwards and towards the rear of the model, if the fitting allows. This illuminates the front surfaces while reducing obvious reflections in the front panel. For deeper cases, two lower-output strips, one at the front and one towards the back, can give a more balanced result than one intense source overhead.
Backlighting is particularly effective when a case has a themed printed background. Rather than aiming a light straight at the artwork, allow a gentle wash from above or below. It creates separation between the model and its setting, making a small scene feel more dimensional without placing the background in the spotlight.
Avoid placing bare LEDs at eye level behind the front panel. Even if the set looks dramatic from one angle, every movement through the room can produce distracting hotspots. Diffused strips, aluminium channels with frosted covers, or lights hidden behind the upper frame give a softer and more polished finish.
Light the shelf, not only the case
For collections spread across several cases, shelf lighting can be the smarter choice. A concealed strip under each shelf provides a consistent wash over the displays below and keeps every cable outside the case. This is ideal for modular layouts, helmet collections and multiple smaller models that benefit from one unified presentation.
The trade-off is control. Shelf lighting gives an impressive overall look but may not reach details deep inside a larger case. Case-specific lighting offers greater drama and precision, especially for a centrepiece build. Many collectors combine the two: soft ambient shelf lighting, then a separate, dimmable light for the one set everyone notices first.
Keep cables as carefully planned as the build
Nothing breaks the illusion faster than a loose black cable crossing a printed base. Plan the route before fitting the light, particularly if your display case is designed around a specific set. Think about where the power lead will leave the case, where a switch will sit, and whether you need access later.
Run cables along rear corners or beneath the base where possible. Use small adhesive cable clips rated for the surface rather than tape, which can peel, collect dust or leave residue over time. Leave a little slack near a connector so the cable is not under tension when you lift a lid or reposition a display.
USB-powered LEDs are convenient for most setups. They work with a discreet mains adaptor, a USB hub or, in some situations, a power bank. Battery-powered puck lights are simple to install but are best reserved for occasional use or smaller displays. Replacing batteries inside a tightly arranged collection becomes tiresome quickly, and their brightness can fade without warning.
If your case includes a custom printed base, never assume that drilling or cutting it is the answer. A tidy external cable route is usually preferable to an irreversible modification. Premium presentation comes from preserving the case, the artwork and the set together.
Protect the bricks, the case and the viewing experience
LEDs produce far less heat than older lighting types, but quality still matters. Avoid cheap unbranded units that run unusually hot, flicker, or have exposed connections. Keep any power supply outside the display case and away from dust-prone enclosed areas. Check fittings periodically, especially on a display that stays illuminated for long evening sessions.
Light also changes how colours are perceived. Strong blue-white LEDs can make white bricks look icy and can reduce the warmth of tan, dark red and brown elements. Conversely, very warm lighting can turn light grey pieces slightly yellow. If colour accuracy is your priority, neutral white with a high colour-rendering rating is the safer choice.
Think about viewing height too. A case displayed on a high shelf needs its lighting angled differently from one on a desk. For a tall model, illuminate the upper structure and let some shadow remain below. For a low, detailed diorama, a softer light from the front can reveal the minifigures without hiding the scene behind a bright reflection.
LEGO display lighting ideas by collection type
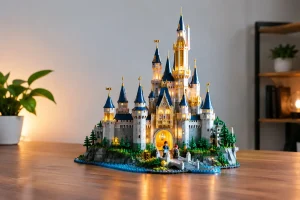
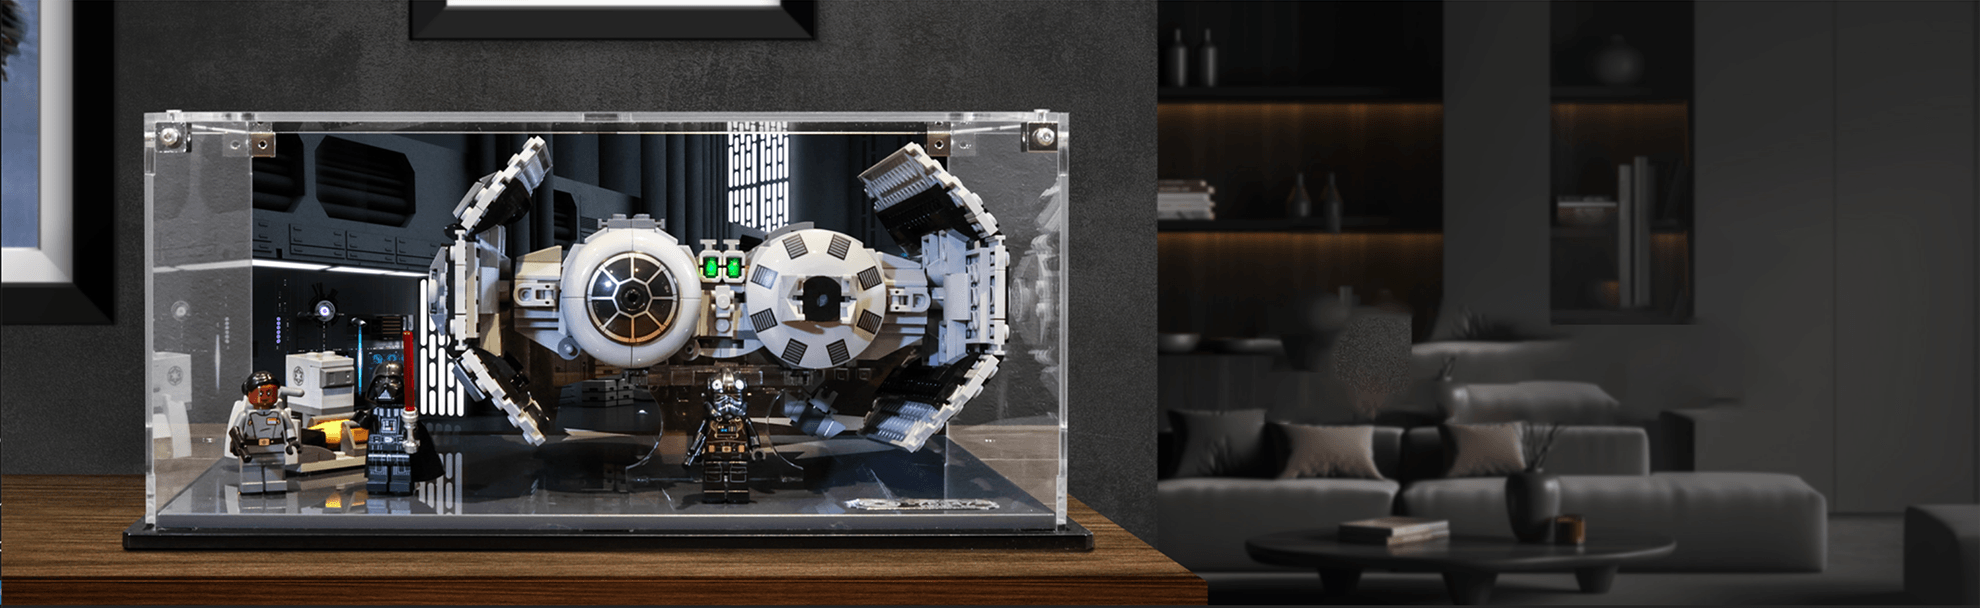
A few approaches consistently deliver strong results. Star Wars ships benefit from cool-neutral top lighting with a faint rear glow, giving the hull definition without making the display look like a toy shop. For a large castle, warm lighting from above paired with a carefully lit backdrop makes towers, arches and foliage feel richer after dark.
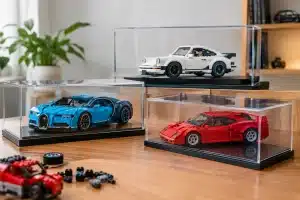
Technic cars look their best with a clean neutral-white strip positioned to trace the body contours. Avoid coloured effects unless they suit the specific vehicle. A supercar deserves showroom clarity, not a nightclub treatment.
Helmet and BrickHeadz collections are ideal for matching shelf lights. The repeated shapes and consistent spacing create a satisfying gallery wall, while individual lighting for every small case can become visually busy. Minifigure displays need the gentlest approach of all: diffuse, even light that lets faces, accessories and tiny printed details remain clear.
Brixbox-style display presentation works best when every element has a job. The case protects, the printed base grounds the model, the background sets the scene and the lighting gives the finished build its moment.
A final check before you commit
Set up the lighting temporarily before fixing anything in place. View the display in daylight, at night and from the seat or doorway where you normally see it. If you notice the LEDs before the model, lower the brightness, hide the source or change its angle.
The best LEGO display lighting is rarely the loudest. It simply makes your favourite build look as though it belongs exactly where you chose to showcase it.
RECENT POST