LEGO Blog
All the latest Brixbox news, straight from the team.

LEGO Riser Review – Worth the Shelf Space?
A flagship model can disappear surprisingly quickly on a crowded shelf. Place a towering build behind a row of minifigures, or a low-slung vehicle beside larger sets, and the details you spent hours assembling are suddenly hard to see. This LEGO riser review looks at whether tiered display stands solve that problem, where they shine, and when a full display case is the better investment.
For collectors who want every model to feel intentional rather than simply stored, a riser can transform a shelf into a proper scene. It creates height, separates builds visually and gives smaller details their moment. But not every set needs one, and the wrong riser can make a carefully planned display feel cramped.
LEGO riser review: what a riser actually changes
A display riser is a raised platform, usually made from clear acrylic, that lifts part of a collection above the shelf or the models around it. The basic idea is simple, but the presentation benefit can be huge. Tiering stops a display reading as one flat line, so the eye naturally moves from one build to the next.
This matters most with collections built around minifigures, helmets, vehicles and compact scenes. A row of characters gains depth when figures at the back are elevated. Small ships, cars or BrickHeadz that would otherwise sit in the shadow of a larger centrepiece can become visible from across the room. A riser also helps make better use of vertical shelf space without needing a deeper unit.
Clear acrylic is the collector favourite for a reason. It supports the set while remaining visually quiet, letting the model, printed base or themed background take centre stage. Coloured risers can work for a bold, graphic display, but they are more likely to compete with a set’s own palette or limit how you rearrange the collection later.
The result should feel curated, not crowded. A good riser adds hierarchy. It should never look like the display is balancing on a stack of temporary furniture.
The strongest reasons to use one
The clearest advantage is sightline. LEGO models are full of details that sit low to the ground: cockpit controls, tiled pathways, character prints, side builds and decorative greebling. Raising a model by even a modest amount can make those features readable at normal standing height.
Risers are particularly effective when a set has a clear front-facing angle. Think of a lineup of Star Wars helmets, Marvel display pieces, Harry Potter minifigures or a motorsport collection where every car deserves an unobstructed profile. They can also make a larger centrepiece feel more cinematic, with smaller companion builds arranged at different levels around it.
There is a practical organisation benefit too. Rather than spreading a collection across several shelves, tiering can create a stronger display within one defined space. That is useful for collectors with limited room, provided the shelf is deep enough and the pieces remain easy to access.
For gift-worthy or sentimental builds, presentation carries real weight. A riser helps signal that the finished model is not just another object on a bookcase. It is part of the collection.
Where risers fall short
A riser is not dust protection. It elevates a model but leaves it exposed to airborne dust, accidental knocks, curious pets and enthusiastic hands. If your main frustration is cleaning delicate models with awkward antennae, wings or foliage, an acrylic display case will do far more for the long-term condition of the build.
The same applies to valuable sets with fragile outer sections. A tiered platform can improve visibility, but it does not create a boundary. For premium builds, retired favourites or models displayed in busy rooms, a set-specific case provides the stronger solution while also giving the collection a finished gallery look.
There is also a scale issue. Extra height is useful only if it improves the view. On a shelf with little clearance above it, a tall riser can put the highest parts of the model uncomfortably close to the shelf above. It may also force a set to sit too far forward, making the overall arrangement less secure and less pleasing from the side.
Finally, risers do not suit every theme or build. A large diorama often needs uninterrupted floor space to tell its story. A detailed model with an integrated display stand may already have the elevation it needs. In these cases, a printed base, themed backdrop or properly fitted case can add more atmosphere without altering the silhouette.
Choosing the right height and footprint
Before buying, measure the usable shelf space, not just the shelf itself. Account for the depth of the model, the clearance above its tallest point and the space needed at the front to view it without pressing it against the edge. The most successful displays leave breathing room around each build.
Height should be chosen around what sits behind the riser. A low platform is often enough for front-row minifigures, smaller vehicles or compact display pieces. Medium elevation works well when you need a rear row to clear the models in front. Tall risers should be reserved for pieces that genuinely benefit from a dramatic stagger, especially where the shelf has generous vertical clearance.
The footprint matters just as much. The platform needs to support the model evenly and sit fully on the shelf. A narrow riser under a wide build can look precarious even when it is technically stable. For long vehicles, ships or scenes with sprawling bases, consider whether a wider, lower platform will look more natural than a tall, narrow one.
Keep the display’s viewing angle in mind. A riser designed for a frontal arrangement may not offer much value if the set is viewed mainly from the side. Conversely, a stepped arrangement can make a corner shelf far more compelling by giving each model its own visible plane.
Acrylic quality and stability matter
Not all acrylic display accessories feel equally premium. A quality riser should have clean, polished edges, accurate panels and a stable design that does not flex under the intended model. Any visible cloudiness, rough edgework or uneven joints will distract from the set it is meant to showcase.
Assembly should also be considered. Some collectors enjoy a modular setup they can reconfigure as the collection grows. Others prefer a fixed arrangement that stays square and solid once placed. Neither approach is automatically better. It depends on whether your shelves change with every new release or form a more permanent themed display.
Take care when positioning a build on acrylic. Place it down gently, particularly if it has small feet, delicate landing gear or a base that is not perfectly flat. Ensure the shelf underneath is level and avoid locating heavy models where the platform can be bumped from the side. A riser should make a display feel elevated in every sense, never less secure.
Riser or display case?
The choice comes down to the role the model plays in your collection. A riser is ideal when you are building a layered open-shelf display, want better sightlines and enjoy changing the arrangement regularly. It is a presentation tool first.
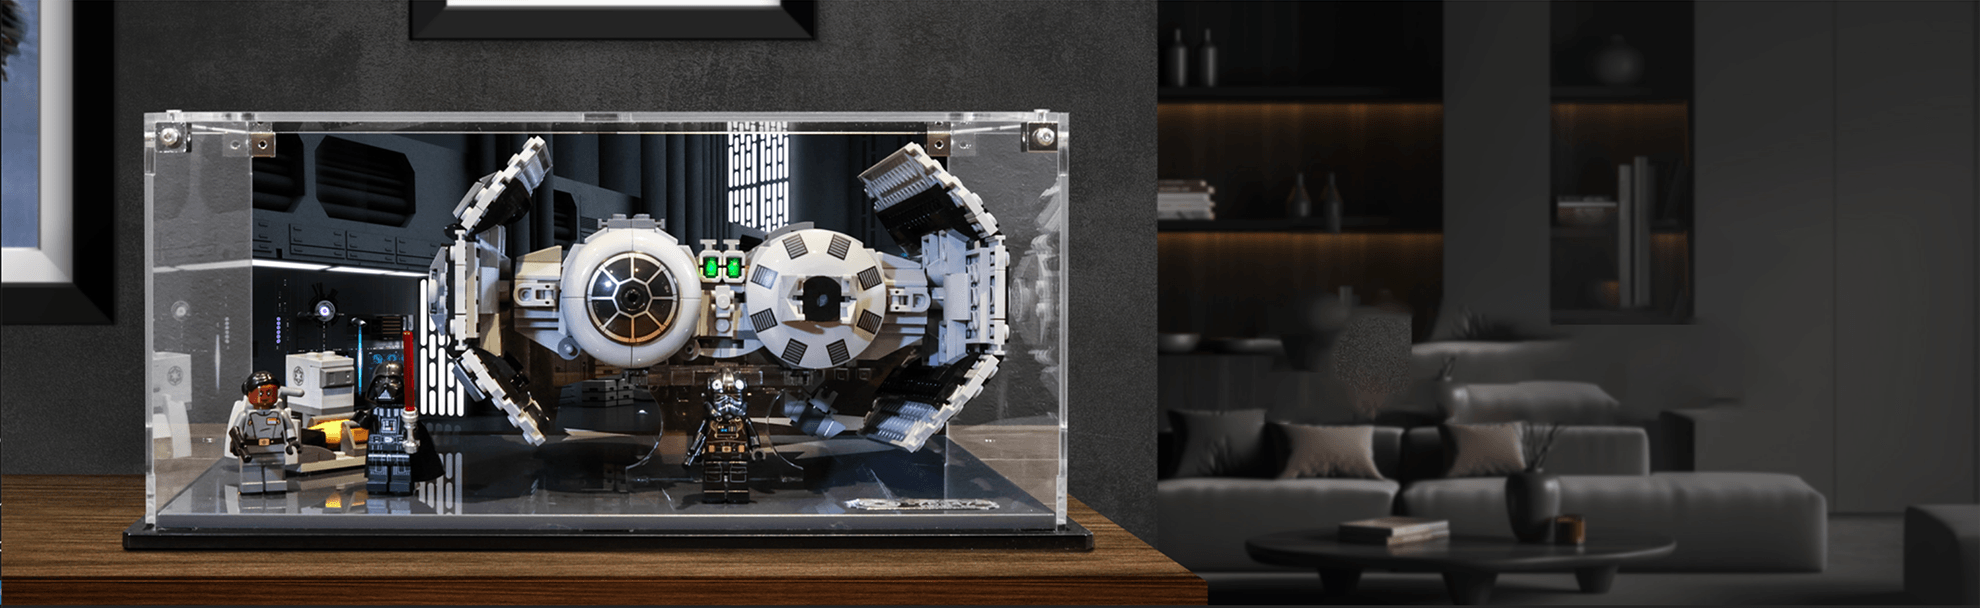
A display case is the stronger choice when preservation, dust reduction and a set-specific finish are priorities. It also creates more impact for a single hero set. A tailored case with a printed base and UV-printed background can frame a model in a way a riser alone cannot, turning the surrounding space into part of the display.
The two approaches can work together. A clear riser may help create levels inside a wider open collection, while enclosed centrepieces anchor the shelf. Brixbox collectors often take this route: protect the builds that deserve a permanent spotlight, then use thoughtful tiering to make the surrounding models easy to admire.
A few display rules that prevent visual clutter
Start with one focal point rather than trying to elevate everything. If every model sits on a different level, the display can feel busy and the strongest build loses its authority. Use the riser to support a clear story: a hero vehicle above supporting ships, a central character flanked by smaller figures, or a rear row that remains visible behind a larger model.
Match the number of levels to the depth of the shelf. Two levels are usually enough for a narrow space. A deeper cabinet can accommodate three, but only when there is still room to see the front models without completely hiding the rear ones.
Also leave room for cleaning. Open displays need occasional attention, and a layout packed edge to edge makes dusting fiddly and increases the chance of dislodging a small element. A small gap between models looks more premium and makes upkeep far less stressful.
A riser earns its place when it reveals more of the build, gives the shelf a stronger sense of scale and keeps the collection looking deliberate. Choose the height for the models you actually own, not for a dramatic product photograph, and your favourite builds will finally be seen the way they deserve.
RECENT POST