LEGO Blog
All the latest Brixbox news, straight from the team.
How to Clean LEGO Display Cases Without Damage
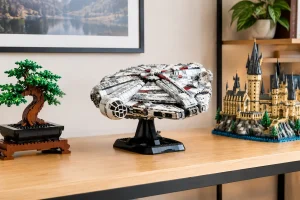
A clear case should make the Millennium Falcon, Hogwarts Castle or your latest Technic build feel museum-ready – not hide it behind fingerprints, haze and a layer of household dust. Learning how to clean LEGO display cases properly protects the case itself while keeping the set inside looking every bit as impressive as the day it was finished.
Acrylic is beautifully clear, lightweight and ideal for displaying detailed brick-built models, but it needs a gentler approach than ordinary glass. The wrong cloth, cleaner or cleaning routine can leave fine scratches that catch the light, dull the panels or interfere with printed artwork. A few careful habits make all the difference.
What to use on an acrylic LEGO display case
Keep the kit simple. For most routine cleaning, you need a clean microfibre cloth and an anti-static acrylic cleaner, or a small amount of lukewarm water with a tiny drop of mild washing-up liquid. Use a second dry microfibre cloth for buffing rather than trying to do every step with the same one.
Microfibre matters because its soft fibres lift dust rather than dragging grit across the surface. Choose a cloth that is clean, unbleached and free from fabric-softener residue. A cloth that has been used on kitchen worktops, car paintwork or windows may be carrying particles that can mark acrylic.
For dust gathered around delicate sections of a model, such as antennae, foliage, flags, exposed greebling or minifigure accessories, a soft make-up brush or clean, soft detailing brush is useful. Keep it reserved for your collection rather than borrowing one that has lived in a toolbox.
Avoid household glass cleaner, bleach, abrasive cream cleaner, acetone, methylated spirits and solvent-based products. Ammonia-based sprays can cause acrylic to craze or cloud over time. Paper towels and rough kitchen roll are equally best left in the cupboard: they can create a web of tiny scratches that is far more noticeable under display lighting.
How to clean LEGO display cases step by step
Start by switching off nearby display lights and giving the case a moment to cool if it has been sitting under warm LEDs. Good lighting helps you spot marks, but cleaning a warm panel can make moisture dry too quickly and leave streaks.
First, remove loose dust with a dry microfibre cloth. Use very light pressure and broad, straight passes from top to bottom. Do not scrub in circles. If a speck resists, assume it could be something gritty and lift it away with a soft brush before wiping that area again.
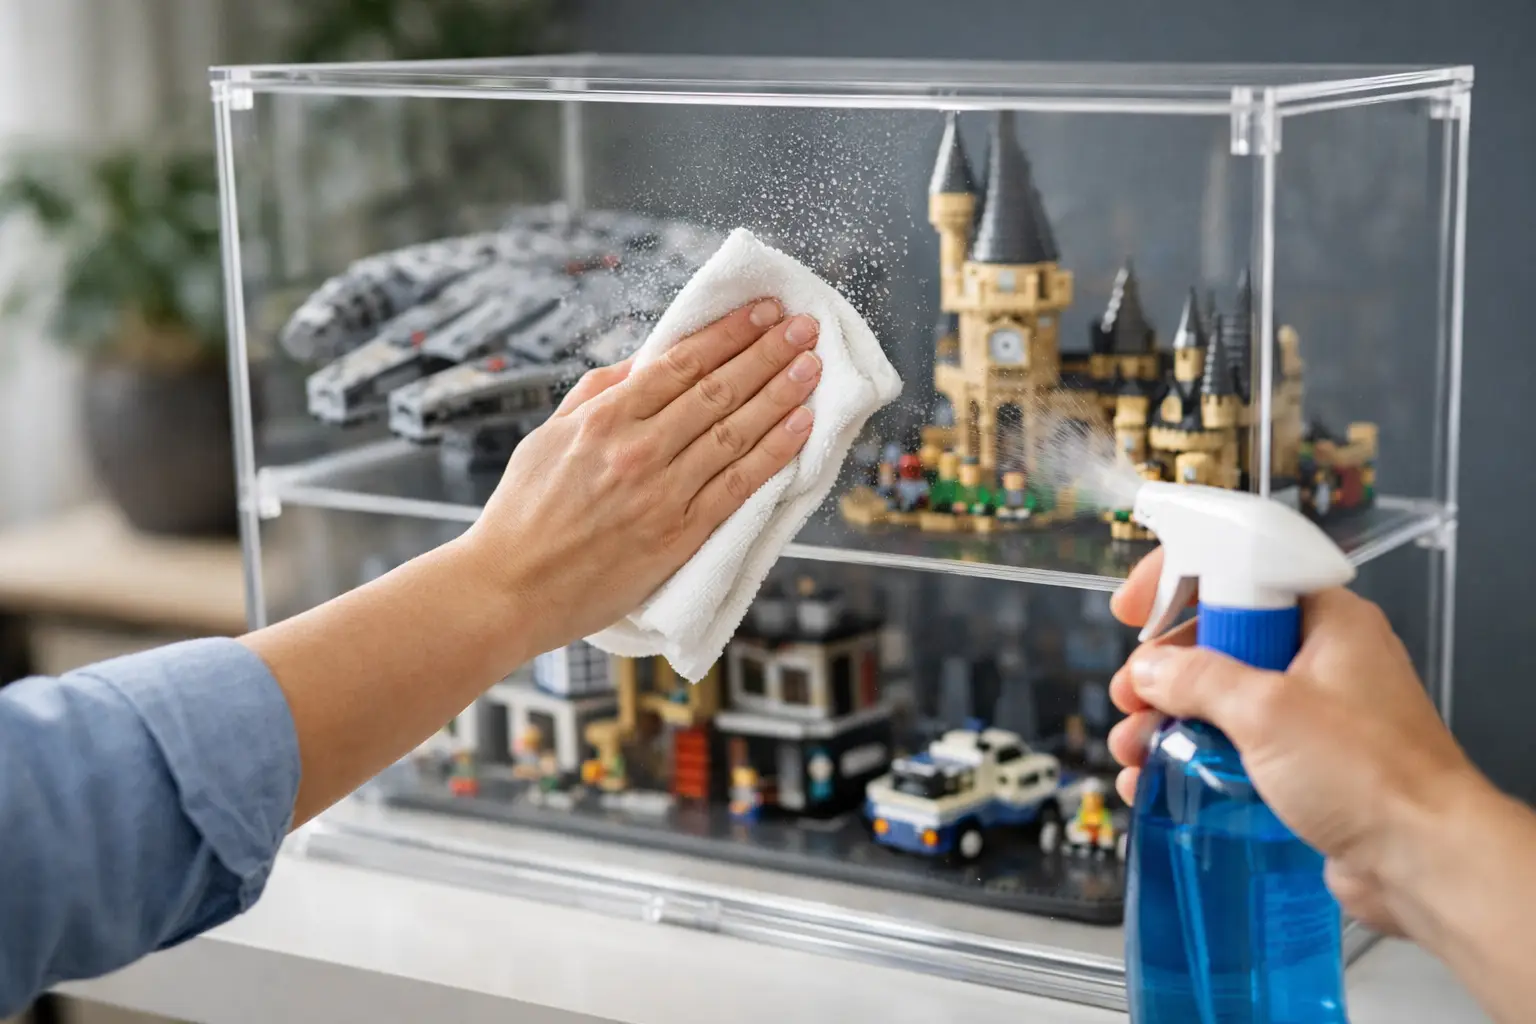
Once the surface is dust-free, lightly mist your cleaner onto the cloth, not directly onto the case. The cloth should be barely damp, never wet enough to drip. Wipe one panel at a time with slow, overlapping strokes, paying attention to the upper surfaces where dust settles first.
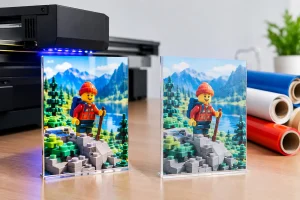
Immediately follow with a clean, dry microfibre cloth to remove remaining moisture and buff out streaks. Work gently around panel joins and corners. If your case has a printed base or UV-printed background, do not saturate those areas. Wipe them carefully with a dry cloth first, then use only minimal moisture on a cloth if a mark genuinely needs it.
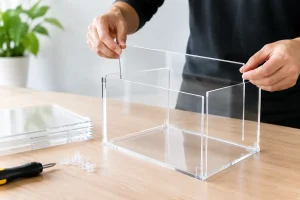
For a fully enclosed case, clean the exterior first. Then lift off or open the acrylic cover according to its design and clean the inside surfaces. This prevents you from moving dust from the outside straight into the display space. If the build is secure enough to move, place it somewhere level and out of direct sun while you clean the interior. For very large, fragile or heavily detailed sets, it is often safer to leave the model on its base and work slowly around it.
Let every panel dry fully before resealing the case. Trapped moisture can leave a film on acrylic and may encourage dust to cling to the surface again.
Treat fingerprints and greasy marks differently
Fingerprints are usually the reason a case looks dull even after a quick dust. They need a lightly damp microfibre cloth, followed by a dry buff. Resist the temptation to press harder. Acrylic responds better to several gentle passes than one determined scrub.
If a fingerprint is near an edge, seam or opening, fold the cloth into a small pad so you have more control. This is especially useful around a case containing a helmet, UCS starship or intricate architecture set, where a careless wipe can knock a loose element from the build.
Cleaning corners, bases and display stands
Corners and base edges hold more dust than the wide, visible panels. Use a soft brush to tease dust from tight gaps, then wipe with a folded microfibre cloth. A cotton bud can help in a very narrow channel, but use it dry and gently, as loose fibres can catch on joints.
For printed display bases, always start with dry dusting. The artwork is part of the presentation, whether it is a Star Wars hangar scene, a magical Hogwarts backdrop or a motorsport-inspired plinth. Keep cleaning products away from exposed printed edges and never use anything abrasive. Your aim is to preserve that crisp, themed finish as carefully as the model above it.
Should you take the LEGO set out first?
It depends on the size, weight and fragility of the model. Removing a compact, sturdy build can make it easier to clean the base and interior panels properly. Put it on a clean, flat surface and lift it from the strongest structural points, not from wings, rails, roof sections or decorative details.
For a large display model, removal may create more risk than it solves. A UCS-scale build or a densely populated diorama can be vulnerable to flexing, loose pieces and accidental knocks. In that case, remove only the cover if possible, dust the model carefully with a soft brush, and clean the base around it in sections.
If a case was designed for a specific LEGO set, the fit may be deliberately close to create a polished, space-efficient presentation. That looks fantastic on a shelf, but it gives you less room to manoeuvre. Patience is more valuable than speed here.
How often should you clean a LEGO display case?
A light exterior dust every one to two weeks is enough for most collections. A more thorough interior clean every two to three months will usually keep the display looking sharp. Homes with pets, open shelving, frequent cooking nearby or busy family spaces may need attention more often.
The case itself dramatically reduces the dust that would otherwise settle on studs, minifigure faces and difficult-to-reach details. It does not eliminate dust altogether, particularly when the case is opened for rearranging or the room has plenty of airflow. Regular light maintenance is easier and safer than waiting until every panel needs serious attention.
Try to clean before visitors, photographs or a collection rearrange rather than after. A freshly buffed case has a remarkable effect on how colours, printed elements and fine build details read under light. It is one of the quickest ways to make a familiar set feel newly finished.
Preventing dust, scratches and static build-up
Where you place the case has a real impact on how much cleaning it needs. Avoid shelves directly beside radiators, open windows, kitchen areas and high-traffic doorways. Heat and sunlight can also be unkind to LEGO elements and printed display components over long periods, so choose a stable spot away from prolonged direct sun.
Static electricity can attract dust to acrylic, particularly in dry rooms. An acrylic-safe anti-static cleaner used occasionally can help, but over-cleaning is not the answer. Keep the case closed, touch panels only when necessary, and handle the cover by its edges whenever you lift it.
Never stack objects on top of a display case, even temporarily. Keys, remote controls, boxes and other collectibles can scratch acrylic or cause pressure marks. Give the case its own clear footprint and let the display do what it was designed to do: showcase the build without distractions.
Common cleaning mistakes collectors should avoid
The biggest mistake is cleaning dust with a dry cloth after it has been allowed to build up for months. That turns the dust into an abrasive layer. Brush away loose debris first, then wipe lightly.
Another is spraying cleaner directly onto the panels. Excess liquid can run into joins, gather around the base and leave streaks inside the case. Spraying the cloth keeps the process controlled.
Finally, do not use a scratch-removal polish unless you understand exactly what it is designed for. Some polishes can alter the sheen of acrylic or create an uneven patch that looks worse than the original mark. Deep scratches are difficult to correct invisibly, which is why prevention is the collector’s best tool.
A premium case deserves the same care as the build it protects. With a soft cloth, the right cleaner and a few unhurried minutes, your Brixbox display can keep the dust out, the artwork crisp and every hard-won detail ready to take centre stage.
RECENT POST