LEGO Blog
All the latest Brixbox news, straight from the team.
How to Organise LEGO Helmets for a Better Display
A LEGO helmet is not just another build to squeeze onto a shelf. Its sculpted profile, printed details and character identity deserve room to be seen properly. Knowing how to organise LEGO helmets means balancing the practical side of collecting – dust, space and stability – with the fun part: creating a display that makes every visitor stop for a closer look.
Whether your line-up begins with a single Stormtrooper and a Darth Vader helmet or stretches across Marvel, Star Wars and other favourite themes, a little planning turns a crowded collection into a genuine showcase.
Start by choosing the story of your display
The strongest helmet displays feel intentional. Before moving a single build, decide what you want the collection to say from across the room. A full Star Wars Imperial row has a very different impact from a mixed display of Sith, Clone Troopers, superheroes and sci-fi icons.
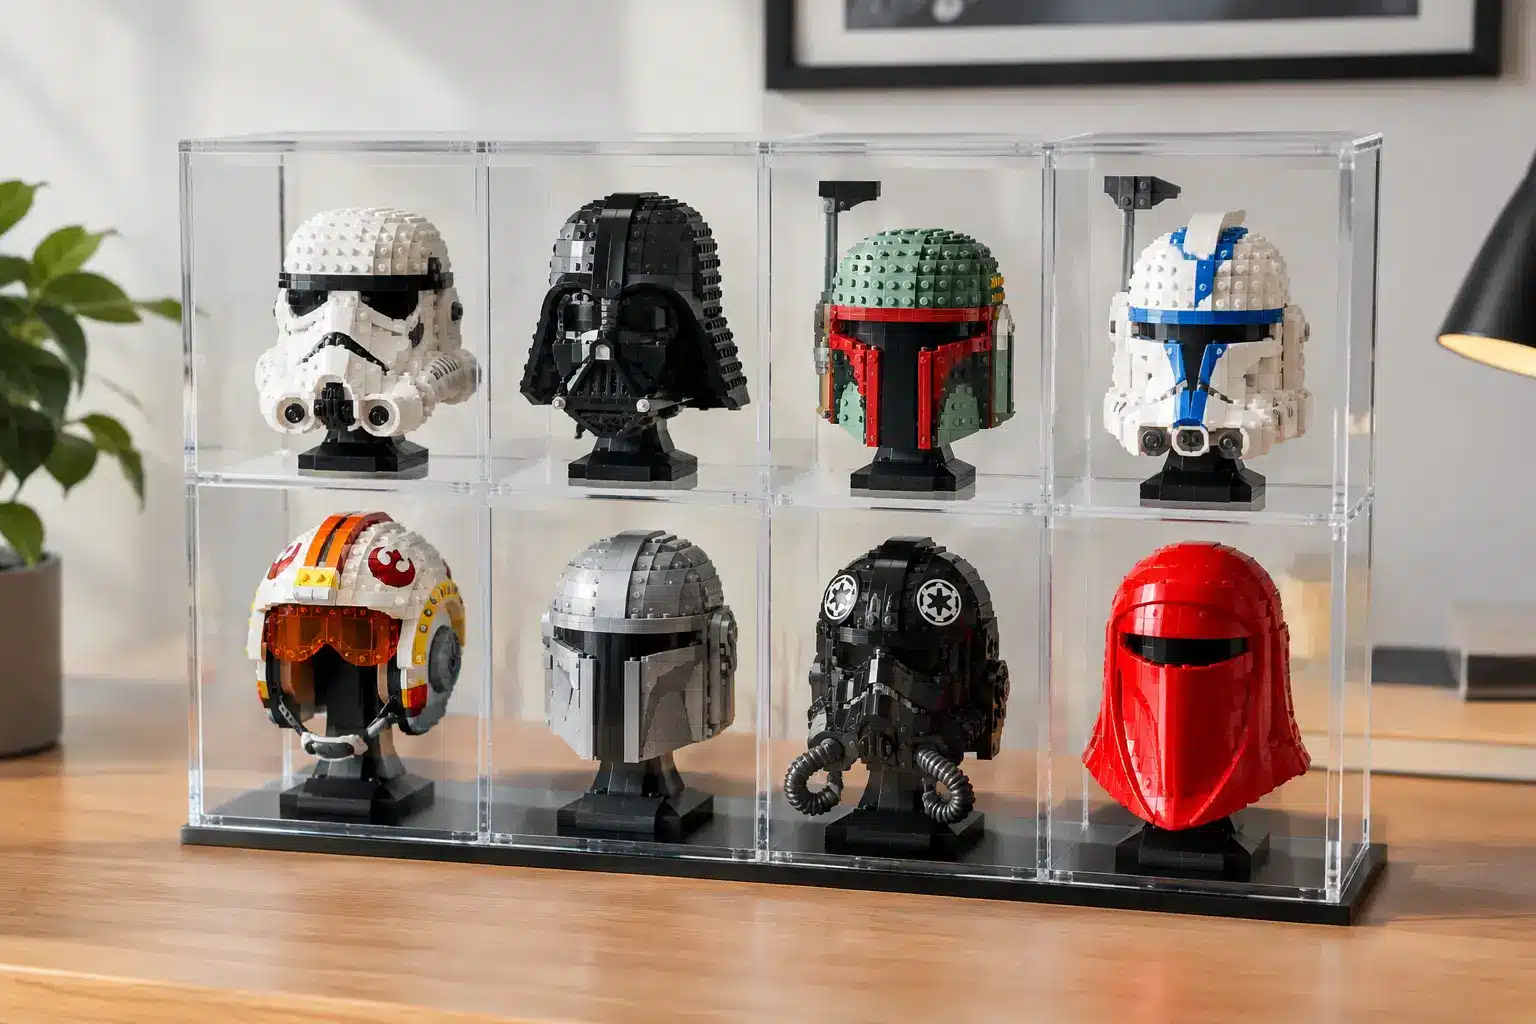
Organising by theme is usually the easiest route. Keep Star Wars helmets together, then arrange them by faction: Imperial, Rebel, Clone and bounty hunter. This gives the shelf a visual rhythm, particularly where similar colours and shapes sit naturally together. A black Darth Vader helmet, for example, gains more presence when it is not competing with unrelated bright-coloured models.
Organising by colour can work brilliantly in a mixed collection. White helmets create a crisp run, while black, silver and darker builds make a dramatic focal point. This approach is more decorative than chronological, but it suits collectors styling a living room, office or dedicated hobby space.
If you own only a few helmets, do not force a long, sparse line. A tight grouping with breathing room around it looks more deliberate than a shelf filled with gaps. Leave space for the next release rather than rebuilding the whole display whenever a new helmet joins the collection.
How to organise LEGO helmets by size and shape
Most LEGO helmet builds share a display-friendly footprint, but they are not identical. Wider designs, models with antennae, and helmets with extended side details need more clearance than compact builds. Treat the stated width of a helmet as the minimum space it needs, not the space you should give it.
Measure your shelf depth as well as its width. A shallow bookcase may hold a helmet, yet leave it perilously close to the front edge. This is especially risky in busy homes, on open shelving near doors, or anywhere a passing sleeve, pet or enthusiastic young builder could catch it. Aim to leave a comfortable margin at the front and back.
Height matters too. Shelves set too close together can make tall helmets feel boxed in, and can make dusting awkward. Where possible, allow enough clearance above each model to lift it out without scraping details or dismantling the top section. Your future self will appreciate this during a rearrange.
Avoid lining every helmet up at exactly the same depth if the shelf is large enough. A gentle stagger can add depth, with larger or darker models set slightly back and smaller, lighter helmets slightly forward. Keep the change subtle. Too much variation can look untidy and makes it harder to see each build clearly.
Create display zones instead of one overloaded shelf
A single shelf full of helmets can look impressive, but it can also become visually flat. Separating the collection into zones gives individual models more impact and makes the room easier to navigate.
A natural approach is to create a hero zone for your most prized piece, then supporting zones for the rest. Perhaps Darth Vader commands the centre, while stormtrooper and scout trooper helmets form a clean supporting run. For a Marvel display, a bold Iron Man helmet can anchor darker pieces around it.
Use shelving levels to establish hierarchy. Place the helmet you want noticed first at roughly eye level, reserve higher shelves for lighter or less frequently handled builds, and keep lower shelves for sturdier display pieces. If children or pets are part of the household, lower open shelves may not be the best home for intricate models.
The same principle applies to a desk. One helmet beside a monitor can look superb. Five helmets crammed around cables, controllers and paperwork tend to lose their effect. Give the build its own defined territory rather than treating it as a spare-surface resident.
Protect your helmets from dust, sunlight and handling
Dust is the quiet enemy of every open LEGO display. It settles into studs, vents and textured sections, dulling the sharp finish that made the completed model so satisfying. The more helmets you own, the more time an open collection demands.
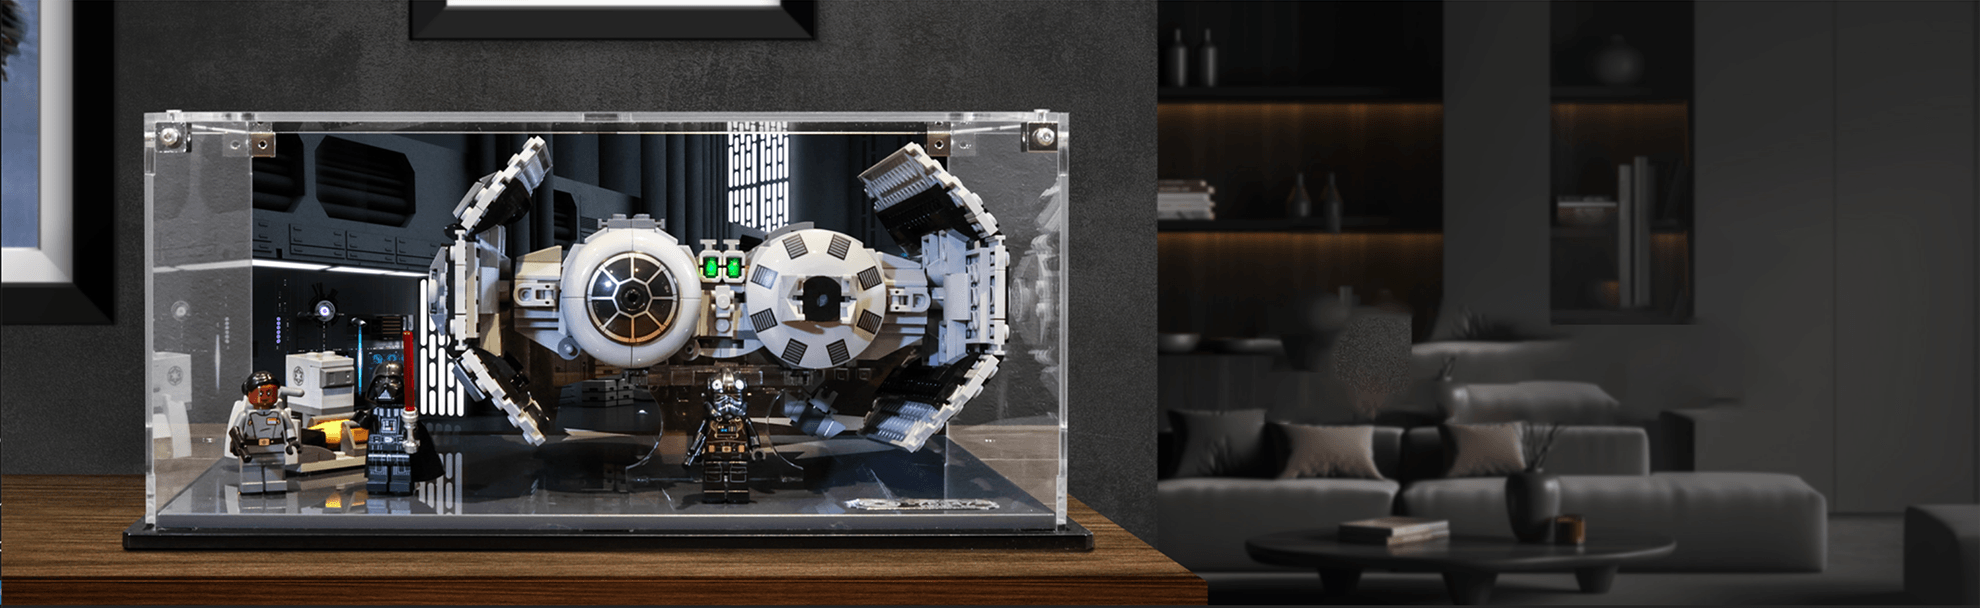
A set-specific acrylic display case is the cleanest way to protect a prized helmet while keeping it fully visible. It creates a clear boundary against dust and accidental handling, and gives the model the presence of a museum-style exhibit. Purpose-built cases also avoid the awkward excess space of generic storage boxes, helping the display look considered rather than improvised.
For a standout helmet, a printed base or themed background can do more than fill empty space. It can reinforce the world behind the character and add depth without crowding the model with loose accessories. Brixbox display cases are designed around specific sets, so collectors can choose a fit and visual finish that complements the build rather than distracting from it.
Where cases are not practical for every piece, keep open shelves away from direct sunlight. Prolonged strong light can affect the look of bricks over time, especially across white, light grey and brightly coloured elements. Rotate models occasionally if one side of a display receives noticeably more light than the other.
Try to handle helmets from underneath the base or from their strongest central structure. Side panels, antennae and decorative elements are often the first parts to loosen during an enthusiastic dusting session. A soft brush used gently is better than wiping across the model with a cloth, which can snag small elements.
Build a layout that is easy to maintain
An impressive display should not become a chore to look after. The best organisation gives every model a place and leaves enough access to clean, move or photograph it without taking half the shelf apart.
Start with the heaviest visual pieces and place them first. Dark helmets, large shapes and models with strong silhouettes naturally pull the eye, so use them to anchor a row. Then add smaller or cleaner designs around them. Stand back after each change. What looks balanced from a few centimetres away can feel lopsided from the doorway.
Keep spare pieces, instruction booklets and boxes separate from the finished display. Original boxes are valuable to many collectors, but stacked packaging behind helmets can make the arrangement feel more like storage than presentation. Store boxes flat or upright in a dry cupboard, and keep instructions in a labelled file or storage drawer.
If you enjoy changing your collection with the seasons or around new releases, take a quick photo of layouts that work. It makes returning to a favourite arrangement far easier, especially when a shelf has several models with carefully judged spacing.
Let each helmet earn its space
There is no rule that says every LEGO helmet must be displayed at once. Rotating pieces can protect the collection from clutter and make returning models feel fresh again. It is particularly useful if your shelf space is limited or you collect across several large LEGO themes.
Choose a core display of the helmets that best suit the room, then store the rest safely in a clean, dry place away from direct sun and heavy items. Keep stored models on a stable surface rather than piled together. If space is tight, consider separating delicate protruding elements and keeping them in clearly labelled bags, ready for an easy rebuild later.
A smaller, curated display often feels more premium than an overcrowded one. Your collection does not need to prove its size at every glance. It should show the builds you are most excited to see.
The final test is simple: when you walk past the shelf, do you notice individual helmets, or just a mass of bricks? Give each character room, protection and a setting that suits its legend, and the display will keep rewarding you long after the last piece clicks into place.
RECENT POST