LEGO Blog
All the latest Brixbox news, straight from the team.
How to Preserve LEGO Stickers on Display Sets
A crooked, lifting or scratched sticker can pull the eye from an otherwise immaculate build – especially on a UCS Star Wars ship, a detailed Technic supercar or a treasured retired set. Knowing how to preserve LEGO stickers is therefore not just about keeping a tiny printed detail intact. It is about protecting the finished look, authenticity and display value of the model you spent hours building.
Stickered elements are often the finishing touch that gives a set its identity: cockpit controls, number plates, sponsor graphics, warning labels and iconic insignia. They are also among the most vulnerable parts of a collection. With the right approach from the moment you open the box, they can stay crisp and properly attached for years.
Start with careful sticker application
Most long-term sticker problems begin at the building stage. Dust, fingerprints and rushed placement can leave an edge exposed, creating the perfect starting point for peeling later on.
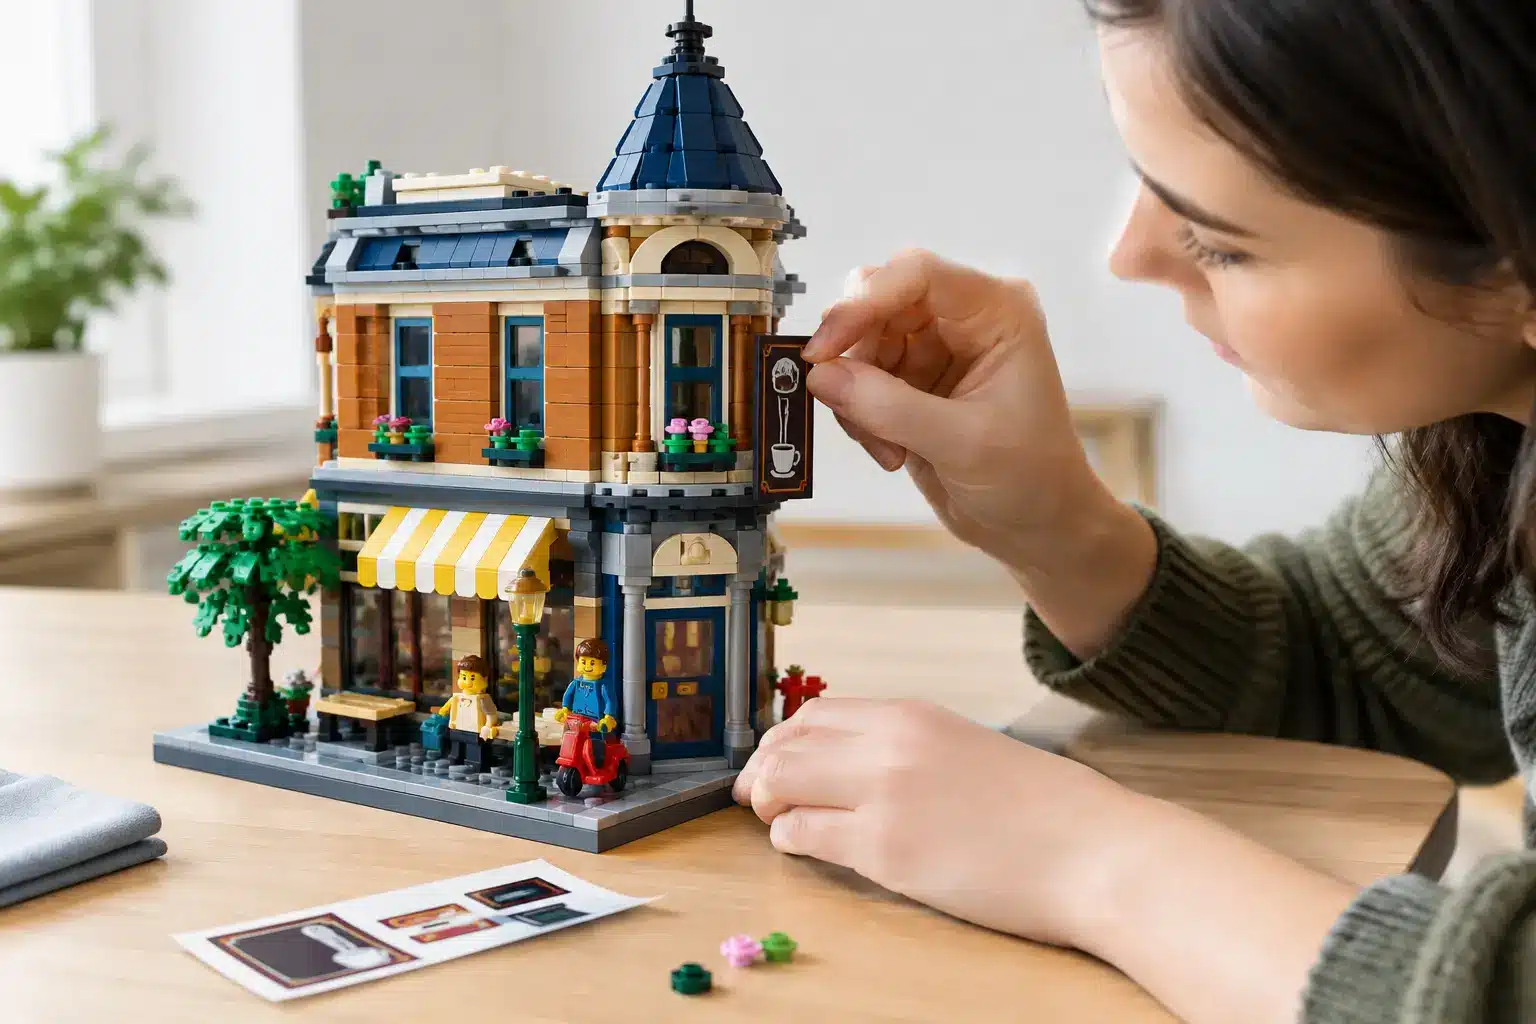
Before applying a sticker, make sure the LEGO element is clean, dry and free from lint. A soft microfibre cloth is usually enough. Avoid kitchen roll, tissues or rough cloths, which can leave fibres behind or mark glossy pieces. Handle the sticker sheet by its outer edges where possible, rather than touching the adhesive side.
Good lighting matters more than most builders expect. Position the element on a flat surface and check the alignment before the sticker makes full contact. For larger decals, such as those found on Technic bodywork or vehicle windscreens, use a brick separator, tweezers with smooth tips, or the edge of another clean LEGO element to guide placement. The aim is control, not speed.
Once the sticker is down, press it gently from the centre outwards. This helps remove trapped air and ensures the edges have made even contact. Do not rub aggressively. Firm pressure is useful; force is not.
If a sticker lands slightly off-centre, resist the temptation to pull it away repeatedly. A careful early adjustment may be possible, but repeated lifting weakens the adhesive and can stretch or crease the print. For display sets, taking an extra minute during application is far better than trying to disguise a mistake later.
How to preserve LEGO stickers after building
The biggest threats to LEGO stickers are sunlight, dust, heat, moisture and handling. None of these needs to ruin a collection, but each becomes more damaging over time.
Direct sunlight is the most obvious enemy. UV exposure can fade colours, yellow clear parts and make printed or stickered details look tired long before the rest of the build shows its age. Keep display shelves away from bright windows where possible. If a room gets strong daylight, a UV-protective acrylic case offers an extra layer of reassurance while still letting the model take centre stage.
Heat and humidity deserve equal attention. Avoid displaying sets near radiators, fireplaces, conservatories or poorly ventilated areas that become damp. Heat can soften adhesive, while high humidity may encourage sticker edges to curl. A stable room temperature is ideal for both bricks and decals.
Dust creates a quieter problem. It settles along sticker edges and can become difficult to remove without catching a corner. Over time, dust also dulls the contrast between glossy labels and clean plastic. An enclosed display case keeps dust away from delicate surfaces, reducing how often you need to clean the set at all. For collectors displaying large, detailed builds, this is one of the simplest ways to preserve the finish they worked hard to achieve.
Clean stickered elements with a light touch
Cleaning is necessary, but stickered pieces should never be treated like loose bricks being prepared for a rebuild. Do not soak them, run them under a tap or use cleaning sprays, polish, alcohol wipes or solvents. Even products that appear mild can affect adhesive, ink or the surface sheen of a sticker.
For routine care, use a soft make-up brush, camera lens brush or clean microfibre cloth to lift loose dust. Brush around sticker edges rather than repeatedly dragging across them. If a model has awkward gaps around wings, engines or Technic panels, a hand-operated air blower can help shift dust without physical contact.
A little patience goes a long way here. If grime has settled near a sticker edge, do not pick at it with a fingernail. Work around the area with a dry, soft brush first. Where a part is genuinely marked, it is usually safer to remove and replace that individual element than to risk damaging a rare or prominent decal.
Keep handling to a minimum
A completed display set is not fragile in the same way as a porcelain ornament, but stickers do not benefit from regular handling. Finger oils collect on glossy decals, particularly on cockpits, control panels and vehicle bodywork. Repeated contact can also catch the edge of a label without you noticing.
When you need to move a model, lift it from solid structural areas rather than stickered panels, tiles or curved slopes. Larger builds should be supported with both hands, ideally from underneath. If the model has a removable roof, opening canopy or delicate side assemblies, secure those before moving it.
For sets you enjoy rearranging or photographing, a dedicated base can be especially useful. It gives you a clear place to grip, reduces contact with the build itself and makes the display feel intentional rather than temporary. The result is better presentation and less opportunity for accidental wear.
Do not use clear varnish or adhesive over stickers
It can be tempting to ‘seal’ LEGO stickers with clear varnish, glue, tape or a brush-on protective coating. For collectors, this is rarely a good trade-off. Coatings can yellow, crack, alter the finish of the piece or leave an uneven shine that is more distracting than the original sticker. They may also make future replacement impossible and reduce the appeal of the set for anyone who values original, unmodified elements.
The same applies to transparent tape over lifting corners. It may look like a quick rescue, but tape traps dust, changes the appearance of the surface and often becomes harder to remove with age. Prevention through sensible storage and display is a much cleaner solution.
What to do if a LEGO sticker starts lifting
A lifting corner does not always mean the sticker is beyond saving. If the sticker is still clean, flat and only slightly raised, gently press it back down with a clean fingertip or a smooth plastic tool. Do this slowly and avoid folding the edge over itself.
If the adhesive has clearly failed, the sticker is torn, or dirt has worked underneath it, replacement is usually the neater option. Keep any original sticker sheets, instruction manuals and spare decals together in a dry, dark folder. Even used sheets can be useful references if you later need to identify a particular graphic or placement.
For untouched sticker sheets from sealed or unbuilt sets, store them flat. Keep them away from sunlight, heat and pressure from heavy instruction books. A clear archival-style sleeve inside a folder is a sensible choice, provided the sheet is not bent or tightly compressed. Never fold a sticker sheet to make it fit a smaller storage space.
Display protection is sticker protection
The best way to care for stickered LEGO elements is to reduce the need for care in the first place. A properly fitted acrylic case shields a finished build from dust, accidental knocks and casual handling while making the model look like the centrepiece it deserves to be.
This matters most with models that feature large exposed decals, white bodywork, transparent canopies or intricate printed-and-stickered interiors. A set-specific display case, especially one with a themed printed base or UV-printed background, frames those details instead of leaving them exposed on an open shelf. Brixbox cases are designed for collectors who want that combination of protection and proper presentation.
Your stickers may be small, but they carry a surprising amount of a set’s character. Apply them carefully, keep the display environment stable, clean with restraint and give prized builds a protected home. Years from now, those sharp decals will still make the model feel freshly finished – exactly as it should.
RECENT POST