LEGO Blog
All the latest Brixbox news, straight from the team.
What Size LEGO Case Do I Need? Find Your Fit
A completed LEGO set rarely takes up only the space suggested by its instruction booklet. A starship’s angled wings, a Technic car’s spoiler, a raised minifigure display or a carefully positioned scene can extend well beyond the obvious footprint. That is why the question, “what size LEGO case do I need?”, deserves more than a quick glance at a shelf measurement.
The right case should give your build room to breathe while making it look deliberately displayed, not squeezed into a plastic box. It must protect delicate details from dust and accidental knocks, frame the model at its best angle, and leave enough clearance that nothing catches when the lid is fitted. For collectors, those few extra millimetres can make all the difference.
Start with the finished build, not the box
LEGO box dimensions are useful for storage, but they tell you very little about the space a built model needs. A set can be long and low, tall and narrow, or deceptively wide once its display stand, antennas, foliage or side build is included. Measure the model only when it is fully assembled and arranged exactly as you intend to display it.
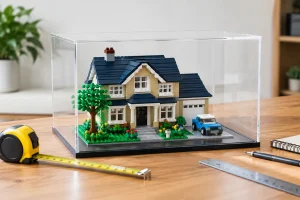
Use a tape measure or ruler to record the maximum width, depth and height. Measure the widest point rather than the base alone. On vehicles, this could be mirrors, wheels or a rear wing. On Star Wars models, it may be wing tips, cannons or a display plaque. For a Hogwarts scene, think beyond the main structure to trees, towers, minifigures and any landscaping you plan to keep in place.
If the set sits on an angled stand, measure it while mounted. The stand changes both its height and its depth, and it is part of the finished presentation. The same applies to minifigures posed beside a model or a second build supplied with the set.
What size LEGO case do I need for safe clearance?
Once you have the build’s true dimensions, add clearance on every side. As a general rule, allow at least 20-30 mm around the width and depth, plus 30-50 mm above the tallest point. This gives the model visual breathing room and prevents it from sitting hard against the acrylic.
For simple, sturdy builds, the lower end of that range may look tidy and intentional. For a model with fragile flags, tall masts, flexible elements or exposed greebling, give it more space. You do not want to remove a case lid and find that it has brushed a radar dish or displaced a carefully aligned piece.
A little extra room is particularly worthwhile if you live with pets, children or a busy household. A well-fitted display case protects against dust, but it also creates a buffer between your prized build and everyday life. The case should not become another source of risk.
There is a balance to strike. A case that is far too large can make even an impressive set look lost, especially on a crowded shelf. Set-specific cases are designed around the model’s proportions, creating a clean border that feels like part of the display rather than an afterthought.
Check internal dimensions, not external dimensions
When comparing cases, always work from the internal measurements. The external size includes the acrylic panels and base, so it will be larger than the usable space inside. A case described as 500 mm wide externally may have less internal width once panel thickness and assembly are taken into account.
Look for the internal width, depth and height in the product specification, then compare these directly with your own measurements. If only external measurements are shown, ask before ordering rather than gambling with a premium set. A few minutes spent checking fit is better than discovering your model is 5 mm too tall after it is built and displayed.
Choose the orientation before choosing the case
The biggest dimension is not always the one that should run across the shelf. Many LEGO models look stronger when turned slightly or displayed at an angle, particularly cars, ships and large spacecraft. Before deciding on case dimensions, place the set on a sheet of paper or clear a section of shelving and test the orientation you prefer.
A landscape case often suits long vehicles, dioramas and starfighters. A deeper case can be the better choice for a model with a dramatic nose-to-tail profile or a stand that projects forwards. Tall cases earn their keep for helmets, towers, modular scenes and upright spacecraft, where vertical presence is part of the appeal.
Think about where the case will live, too. Measure the shelf’s usable width, depth and headroom, including any brackets, cabinet doors or lights above it. If the shelf is shallow, a case may technically fit but overhang at the front, leaving the display vulnerable and visually awkward. The best case size works with both the model and the furniture around it.
Account for bases, backgrounds and display stands
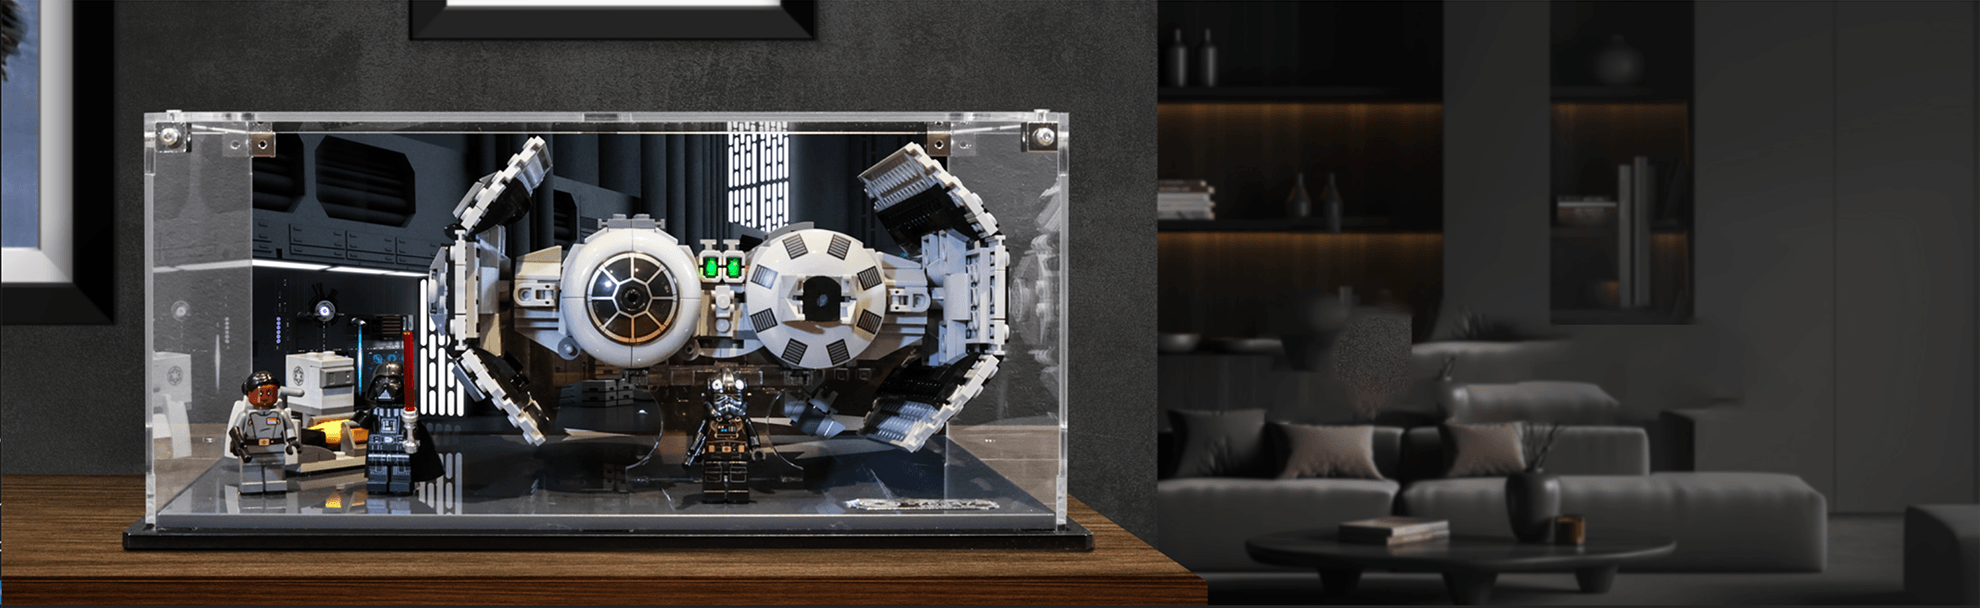
A premium display is more than a clear cover. Printed bases and UV-printed backgrounds can transform a set from a build on a shelf into a scene with genuine atmosphere. They also influence the dimensions and orientation that make sense for your collection.
A background needs enough height behind the model to be visible without crowding its tallest elements. A printed base should provide a balanced border around the build, particularly where a vehicle is displayed diagonally. If you are choosing a case to complement themed artwork, avoid sizing so tightly that the artwork is hidden by the model itself.
Display stands deserve special attention. A stand may lift a set clear of the base, increase the overall height and place it closer to the rear panel. Measure from the stand’s furthest edges, not just the LEGO model it supports. This is essential for collectors displaying ships in flight positions or vehicles at a dynamic angle.
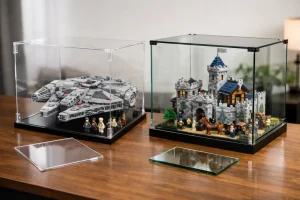
Brixbox cases are designed around specific LEGO sets, which removes much of this calculation and gives the finished model a proportioned, collector-grade frame. That is especially useful when a set has an unusual silhouette that generic cube-style cases struggle to accommodate.
When a larger case is the smarter choice
There are moments when choosing the next size up is sensible. If you regularly adjust minifigure poses, add lighting, change a model’s angle or plan to include a custom nameplate, tighter dimensions can become restrictive. A little extra depth can make maintenance easier and leave space for the display to evolve.
Collectors who move house frequently may also prefer a slightly roomier case. It is still not a substitute for packing a set carefully, but clearance reduces the chance of parts pressing against acrylic during handling. Similarly, if your model has long, unsupported sections or delicate accessories, do not select a case that leaves no margin for error.
On the other hand, do not upsize solely because a larger case sounds safer. Oversizing adds shelf demand, can dilute the visual impact of a smaller set and may leave valuable display space unavailable for the next build. Purpose is the deciding factor: choose extra space for a planned display feature or genuine fragility, not vague uncertainty.
A quick measuring routine before you order
Set the finished model in its intended position, including its stand, plaque, minifigures and side builds. Measure the widest, deepest and tallest points. Add your preferred clearance, then compare those final numbers with the case’s internal dimensions and your shelf dimensions.
Finally, imagine fitting the lid and cleaning around the case. Can it be lifted without hitting a shelf above? Is there enough space to reach behind it? Will a background face the room rather than a wall? These practical details make a display easier to live with, not merely good in a product photograph.
Your LEGO build represents hours of concentration, favourite characters and, often, a serious investment. Give it a case that respects the full shape of the finished model, leaves its best details visible and makes you want to pause every time you walk past it.
RECENT POST