LEGO Blog
All the latest Brixbox news, straight from the team.

Display Risers That Make LEGO Builds Stand Out
A brilliant LEGO build should not disappear into the back row of a shelf. Yet that is exactly what happens when every model sits at the same level: minifigures vanish behind larger sets, fine details get lost, and a carefully chosen collection starts to look more like storage than a showcase. Display risers create the height, depth and clear sightlines that let each build earn its place.
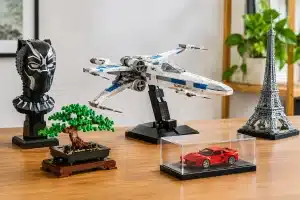
For collectors, a riser is not simply a stand. It is a way to frame the story of a set. Raise an X-wing above a ground crew scene, position a Hogwarts character display behind the main model, or give a line of helmets the gallery-style presence they deserve. The right arrangement makes a collection feel intentional before anyone has even looked closely at the bricks.
Why display risers change the whole shelf
Most shelves are flat, and flat displays have one unavoidable problem: the largest item wins. A tall vehicle, wide modular building or detailed backdrop can obscure everything placed behind or beside it. Risers break up that single plane, creating a tiered display where smaller models and minifigures remain visible.
Height also creates depth. Rather than lining sets shoulder to shoulder, you can build a scene in layers. A raised rear section can carry ships, characters or smaller companion builds, while the lower level holds the centrepiece. This is particularly effective for themed collections where the models belong together but vary dramatically in scale.
There is a practical benefit too. A raised platform makes cleaning around a display less fiddly and gives fragile details a little more separation from hands, pets and the general bustle of a room. It will not replace an acrylic display case where dust protection is the priority, but it can make a case or open shelf feel far more polished.
Choose display risers for the collection, not just the space
The best riser is not always the tallest or widest option. It needs to suit the set, the shelf and the way you want people to view the collection. Before choosing one, look at the display from where it will actually be seen. A riser on a high bookcase may need only a modest lift, while a lower cabinet often benefits from stronger levels that draw the eye upwards.
Start with the footprint
Measure the base of the model, including any wings, landscaping or display plaque. A riser should support the full footprint comfortably rather than leaving tyres, baseplates or delicate edges hanging over the side. Give yourself a little breathing room around the build as well. A cramped platform can make even a premium set look squeezed in.
For a large, heavy build, prioritise a broad, stable base. For smaller helmets, BrickHeadz or minifigure scenes, narrower risers can create clean stepped rows without consuming the entire shelf. If the model is designed to be viewed from every angle, choose a layout that leaves access around it rather than pushing it hard against a wall.
Match the rise to the model
A low riser is ideal when you simply need to stop a smaller set disappearing behind a larger one. It adds hierarchy without making the display feel stacked. Taller levels suit collections with a clear back row, such as starfighters, character line-ups or vehicles with distinctive silhouettes.
Be careful with dramatic height under a model that already sits high on its own stand. A towering riser beneath a tall ship may bring it closer to the shelf above and make the whole arrangement feel top-heavy. In that case, use the riser for smaller support models around the main set instead. The centrepiece still commands attention, but the surrounding details no longer fade away.
Consider material and finish
Clear acrylic display risers have an obvious advantage: they create elevation without visually interrupting the build. They are excellent for models with detailed bases, where you want the bricks beneath the set to remain part of the view. Acrylic also suits a clean, modern display and works beautifully inside larger clear cases.
Black, white or printed platforms can be more theatrical. A dark base gives helmets, spacecraft and vehicles a museum-style contrast, while a themed printed finish can extend the world of the model beneath it. The trade-off is that a bold platform becomes part of the scene, so it needs to complement the set rather than compete with it.
Build a layout with a clear focal point
The most impressive displays usually have one model that catches the eye first. This might be the largest set, the most meaningful build, or simply the one with the strongest shape. Place it slightly higher, centrally, or with more clear space around it. Then use risers to give the supporting models a role.
Think in a loose triangle rather than a straight line. Put the main build at the highest or most prominent point, then step smaller models down to either side. This creates movement across the shelf and feels more natural than a rigid row of identical heights. It also gives visitors a reason to keep looking.
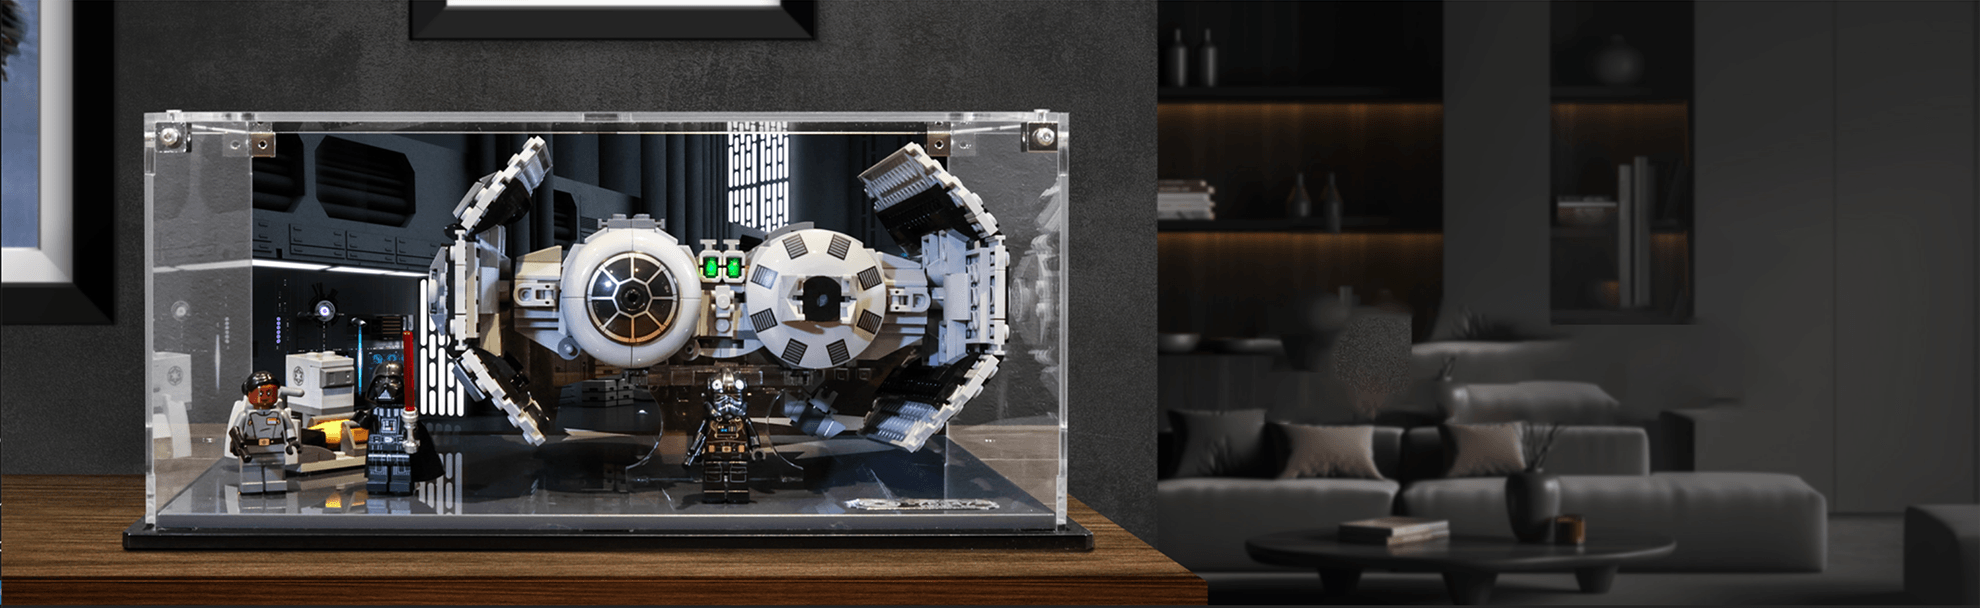
A Star Wars collection is a great example. A larger spacecraft can sit at the rear, lifted just enough to be visible over a front scene of minifigures, speeders or a smaller vehicle. The result feels like a moment from the galaxy rather than a collection of separate purchases. The same principle works for Marvel action scenes, Harry Potter castle displays and motorsport garages.
When displaying multiple items of similar size, repetition can work in your favour. A run of matching risers gives helmets, BrickHeadz or minifigures a disciplined, collector-grade presentation. Keep spacing consistent and line up the front edges. Small details such as this are what turn a shelf into a display.
Use risers inside display cases with care
Acrylic cases and display risers are a powerful combination, especially for sets that deserve long-term protection from dust and accidental knocks. The case preserves the model; the riser ensures it is seen properly. But the dimensions must work together.
Allow enough clearance above the tallest part of the build, particularly for antennas, wings, trees, flags and raised minifigure accessories. Check the depth as well. A riser can move a set forward, and a case door or removable cover needs room to close without catching any details.
Weight distribution matters. Keep the heaviest part of a model centred over the supporting surface, and make sure the riser sits flat on the case base. Avoid balancing a wide model on a narrow platform simply because it looks dramatic in a photo. A display should be enjoyable to live with, not something that needs checking every time someone walks past.
For set-specific cases, the safest approach is to plan the riser as part of the presentation from the beginning. Brixbox collectors often choose printed bases and themed backdrops to give a build its own world; a carefully selected level can add the final layer of depth without cluttering the scene.
Common display mistakes worth avoiding
More height is not always better. If every model is raised, the eye has nowhere to rest and the display can feel busy. Use levels to create priority. Leave some sets at shelf level so the elevated items have a purpose.
Avoid hiding the features that made you choose the set in the first place. A riser should reveal a model’s cockpit, character line-up, printed tiles or landscaping, not block them. Test the view from standing height and seated height before committing to the final position.
It is also easy to overfill the space. A shelf packed edge to edge may hold more sets, but it can make each one feel less special. A little negative space around a prized build creates a premium, gallery-like finish and makes dusting considerably easier.
Finally, do not treat every theme in the same way. A dense city scene can benefit from busy, layered levels, while a display of Technic supercars may look better with wider gaps and lower platforms that preserve each vehicle’s profile. The right choice depends on what you want the collection to say.
Give every build its moment
Display risers are one of the simplest ways to make a familiar shelf feel newly exciting. They bring overlooked details forward, create a sense of scale and give a growing collection the structure it deserves. Whether you are arranging a single treasured set or building a full fandom wall, start with one raised layer, step back, and let the display show you what it has been missing.
RECENT POST