LEGO Blog
All the latest Brixbox news, straight from the team.
Guide to Assembling Acrylic Panels for Displays
A premium LEGO display deserves a clean finish, not cloudy panels, fingerprints or a case that sits slightly out of square. This guide to assembling acrylic panels is designed for collectors who want the final stage of a build to feel as satisfying as the last brick clicking into place. Take your time, protect the surfaces, and your display case will frame every detail exactly as it should.
Before you assemble your acrylic display case
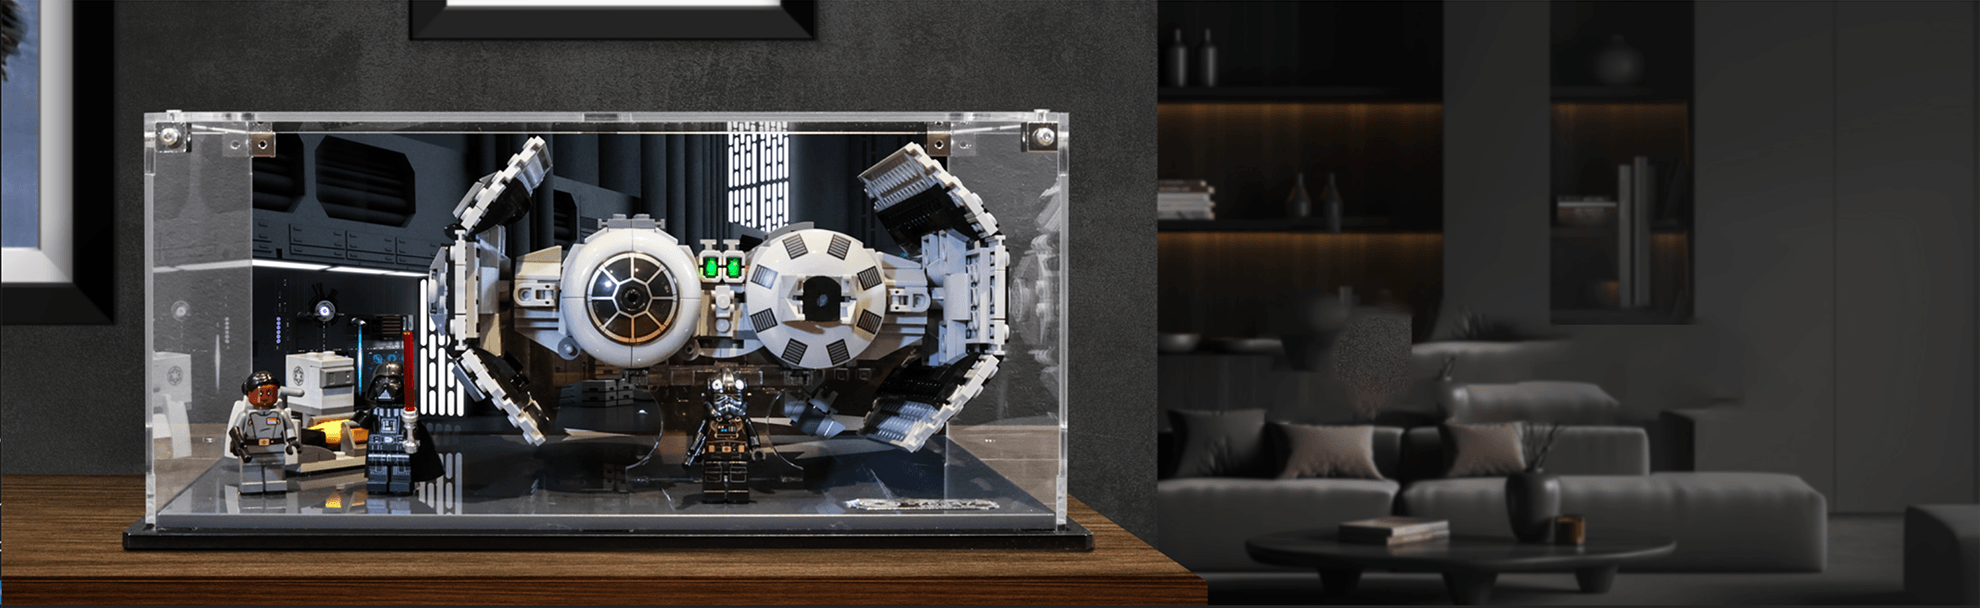
Acrylic is strong, clear and ideal for showcasing a treasured set, but it rewards careful handling. Unlike a cardboard box or a standard plastic tub, a precision-cut display case is part of the presentation. A scratch, trapped speck of dust or misaligned edge can distract from the model inside, particularly on a large Star Wars build, a detailed Technic car or a scene with a printed background.
Choose a clean, flat workspace with enough room to lay each panel down safely. A dining table is fine if it has been cleared and wiped first. Avoid rough workbenches, stone floors and any surface with loose crumbs, grit or stray LEGO elements. A clean microfibre cloth beneath the panels provides a useful extra layer of protection.
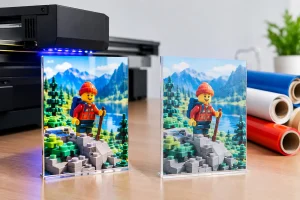
Before removing any protective film, check the contents against the instructions supplied with your case. Identify the base, back panel, side panels, front panel and lid, along with any connectors, screws or clips. Printed bases and UV-printed backgrounds should be handled by their edges wherever possible so the artwork remains crisp and free from fingerprints.
It is also worth having a soft microfibre cloth to hand. Do not reach for paper towel, kitchen roll or abrasive cleaning cloths. These can mark acrylic surprisingly easily, especially when dust is caught beneath them.
Guide to assembling acrylic panels step by step
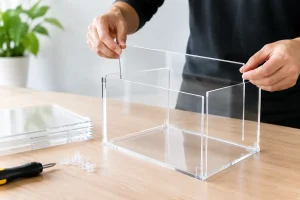
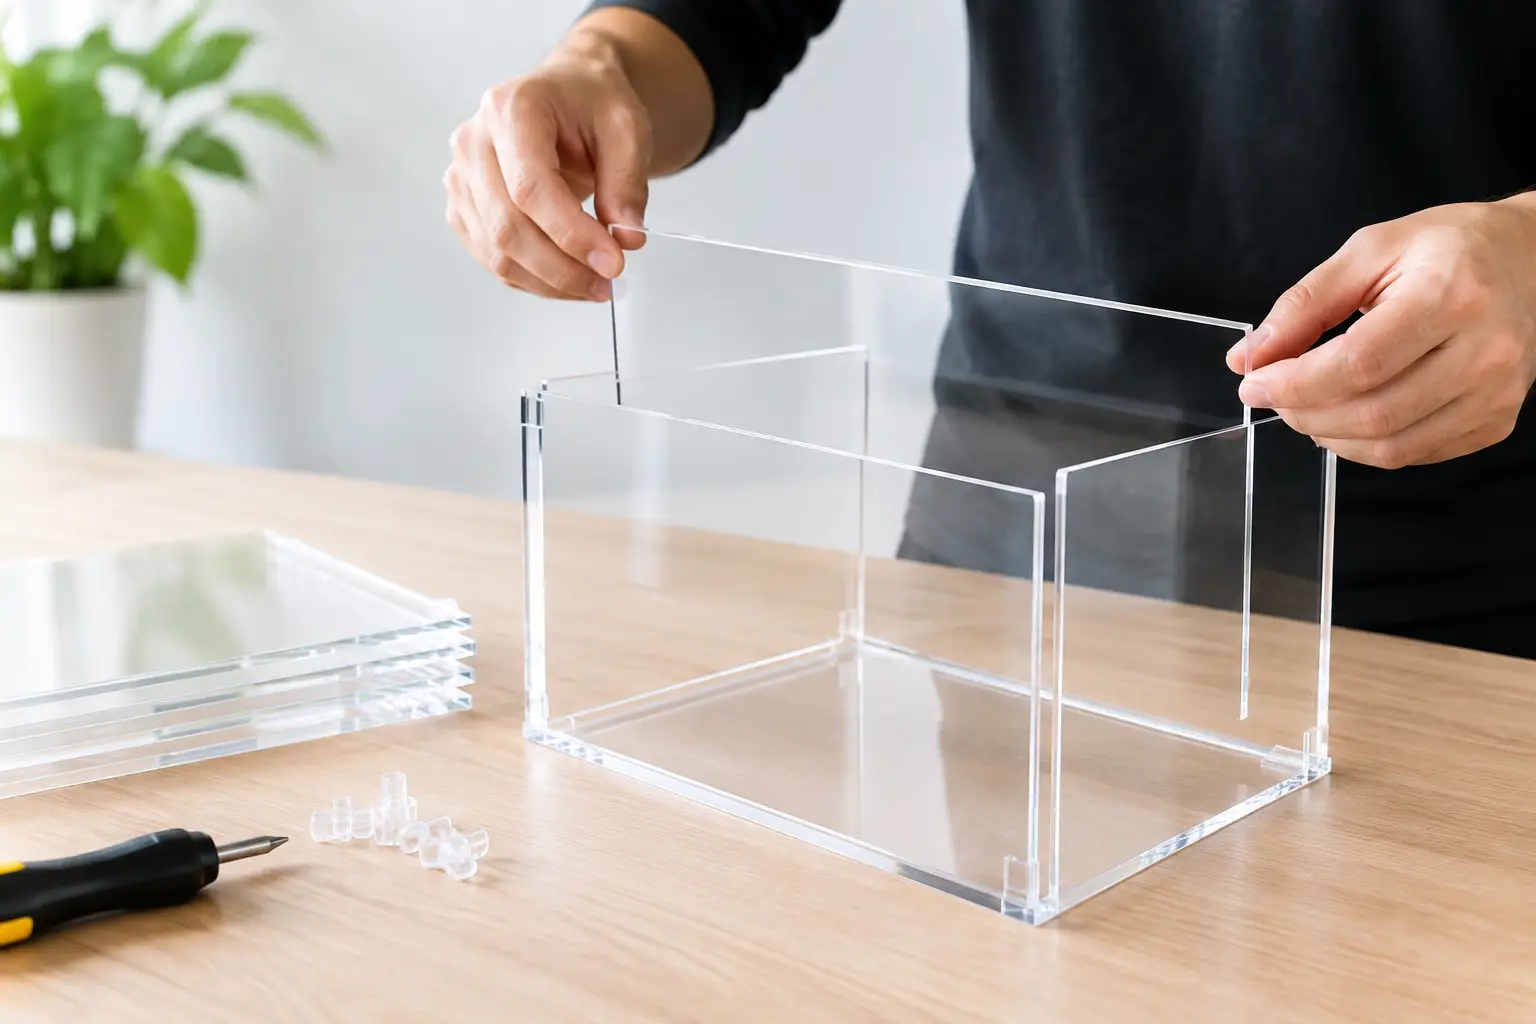
The exact fitting method depends on the display case design. Some panels slot into grooves, while others use discreet connectors or screw fixings. Follow the supplied case instructions first, as a set-specific case may have a particular order that creates the best fit around the model and its display base.
Keep the protective film on at first
Most acrylic panels arrive with a protective film on one or both faces. Leave it in place while you identify the parts and complete any dry fit. This is the easiest way to prevent accidental scuffs as panels are moved across the workspace.
When you are ready to assemble, peel back only the areas needed for each connection where practical. Remove the film completely once the panel is secure and you are confident it is the correct piece. The film can cling to corners and edges, so lift it slowly rather than pulling sharply. If a small tab remains in a slot, use a fingernail or a non-metallic edge to tease it out. Never use a blade against the acrylic.
Start with the base and rear panel
Place the base on the soft, clean surface with the finished side facing up. If the case includes a themed printed base, check its orientation before adding anything else. A front-facing logo, character artwork or scene detail is much easier to position correctly now than after the whole enclosure is built.
Fit the rear panel next. Hold it by both vertical edges and lower it evenly into its channel or connectors. Do not force one corner down first, as this can twist the panel or make the opposite side harder to align. If it does not seat smoothly, stop and check for protective-film remnants, packaging material or a panel facing the wrong way round.
For cases with a printed background, take an extra moment here. The artwork should face into the display, behind the LEGO set, with any protective layer removed from the visible side before the case is fully closed.
Add the side panels without forcing them
With the back panel supported, fit one side panel and then the other. Keep light, even pressure on the joints. Acrylic cases are engineered for a neat fit, not brute force. If you have to press hard, something is usually misaligned.
This is the stage where collectors most often make a small but frustrating mistake: fitting a side panel with its protective film still tucked into a groove. That can leave a visible strip once the case is finished. Check each edge before the panel is fully seated.
If your case uses screws, tighten them gradually and alternate between corners rather than fully tightening one point at a time. The aim is a level, square frame. Tightening too aggressively can put unnecessary stress on acrylic, so stop as soon as the fitting is secure. Hand-tight is generally the right standard unless your product instructions state otherwise.
Position the model before closing the case
Once the back and sides are stable, carefully place your LEGO model onto the base. Lift it from its strongest points, usually beneath the main structure or display stand, rather than by a wing, antenna, turret, minifigure or other detailed section. Large builds may be safer to move with two hands or with another collector helping.
Check the viewing angle from the front and sides. This is your chance to centre the build, straighten a display plaque and make sure no loose element is pressing against an acrylic wall. A set-specific case should give the model a purposeful fit, but it is still worth confirming that delicate details have comfortable clearance.
For an adjustable display stand, settle the pose before fitting the front panel. Trying to reposition a starship or vehicle through a narrow access gap later is far more awkward and increases the chance of knocking a piece loose.
Finish with the front panel and lid
Fit the front panel with clean hands, gripping only the outer edges. Remove any final protective film just before it goes into position, then lower or slide it into place as directed. Take a moment to inspect it from several angles, because a thin strip of film at a corner can be easy to miss until light catches it.
Add the lid last. It should rest evenly across the top edges without rocking. If it will not sit flat, do not push it down. Recheck that the sides are fully seated and that the rear panel is square. A lid that appears tight often signals a panel that is only slightly out of its channel.
How to keep acrylic panels crystal clear
The best display cases almost disappear, leaving the build and its themed presentation to do the talking. Cleaning habits make the difference. Dust lightly with a clean, dry microfibre cloth, using gentle straight passes rather than circular rubbing. Circular motions can make fine marks more noticeable under display lighting.
Avoid household glass cleaners containing ammonia, solvents or alcohol unless the acrylic-care guidance for your case explicitly permits them. These products can cause hazing or fine surface crazing over time. For a fingerprint or stubborn smudge, use a dedicated acrylic-safe cleaner or a slightly damp, soft cloth, then dry gently with a second microfibre cloth.
Where you position the case matters too. Keep it away from direct sunlight, radiators and humid windowsills. UV-printed artwork is made to elevate the scene, while a stable indoor location helps preserve both the model and its presentation over the long term.
Common assembly issues and simple fixes
If a panel looks cloudy, first make sure all protective film has been removed. The film is often nearly invisible on clear acrylic, particularly around corners. If the panel is genuinely marked, inspect it under bright but indirect light before assuming it is scratched. Static can attract dust during unpacking, and a gentle acrylic-safe clean may be all that is needed.
If the case seems uneven, loosen the relevant fittings slightly, square the panels against the base and retighten gradually. Do not attempt to bend acrylic into shape. Precision panels should align naturally when every piece is in the correct position.
A gap at one edge is usually caused by a panel that has not fully entered its groove, a connector fitted the wrong way round, or leftover protective film caught in the joint. Disassemble only as far as necessary, correct the issue, and rebuild slowly. Rushing a fix is how a minor alignment issue becomes a scratched panel.
A well-assembled case does more than keep dust off the bricks. It gives the build a permanent stage – one that protects the hours spent building it and makes every shelf, desk or display room feel more like a gallery. Whether you are housing a flagship collector set or a favourite smaller scene, careful assembly lets the craftsmanship of the case and the character of the build shine together.
RECENT POST